How to Create an Online Course: From Outline to Student Access
To create an online course that people finish, work backwards. Write down the one thing a student will be able to do at the end. Split that result into three to six modules, each ending in a smaller skill. Break each module into short lessons with one task apiece, decide who gives feedback on those tasks, and run the course with a small pilot group before you open it to everyone.
The platform comes last, and it takes the least time. In our view, first courses most often stall at the outline (too many topics, no clear finish line) or in week two, when students hit the first hard lesson and nobody answers their questions. Both problems are fixed on paper before you record anything.
We'll use one example throughout. Say you're a pastry chef and want to sell a $69 course, "Croissants at Home", to people who bake for fun.
Start with the result, not the topic
"Learn about lamination" is a topic. "Bake a tray of croissants with open, honeycomb layers in your home oven" is a result. The difference matters because a result tells you what to cut. Anything that doesn't move the student toward that tray goes into a bonus file or a different course.
A good result sentence passes three checks:
- A student can show it (a photo of the crumb, a finished spreadsheet, a recorded talk).
- It fits the time you promise. Four weekends is believable for croissants; "master French pastry" is not.
- A beginner understands it before buying. Jargon in the result sentence usually means the course is aimed at you, not at them.
Write the sentence at the top of your outline document and keep it there. When you argue with yourself later about whether a lesson on the history of viennoiserie belongs in the course, the sentence settles it.
How to make an online course outline that holds together
Build the outline backwards from the result. Ask what the student must be able to do right before the final step, then right before that, and so on. Each answer becomes a module, and each module ends with something the student can show.
For the croissant course that gives four modules:
- Dough that behaves: choosing flour and butter, mixing, the first rest. Task: a photo of the dough after its overnight rest.
- Lamination: the butter block, three folds, fixing butter that breaks. Task: a photo of a cut edge with visible layers.
- Shaping and proofing: cutting triangles, rolling, the proof test. Task: a photo of the shaped tray before it goes in.
- Bake and troubleshoot: oven heat, egg wash, reading the crumb. Task: a photo of a croissant cut in half.
Three lessons per module, about eight minutes of video each, comes to 12 lessons and 96 minutes. Try your own numbers here (the defaults are this example, not a recommendation):
Example outline for "Croissants at Home" ($69):
| Module | Lessons | Minutes of video | Task at the end |
|---|---|---|---|
| 1. Dough that behaves | 3 | 24 | Photo of the rested dough |
| 2. Lamination | 3 | 24 | Photo of the cut layers |
| 3. Shaping and proofing | 3 | 24 | Photo of the shaped tray |
| 4. Bake and troubleshoot | 3 | 24 | Photo of the crumb |
| Total | 12 | 96 | 4 reviewed tasks |
If one finished minute of video takes you 2 hours to script, film and edit, 96 minutes is about 192 hours of production.
That last line is the one people skip. Time your first finished lesson and multiply. If the total scares you, cut lessons now rather than halfway through filming.
How long each lesson should be
A lesson should cover one action the student can try straight after watching. "The three folds" is one lesson. "Lamination" is a module. When a lesson needs a pause in the middle so the student can go and do something, that pause is where it should split.
We'd aim for 5–12 minutes of video per lesson for a practical skill. Longer lessons are fine for a lecture people watch on the couch, but a baker with butter on their hands won't scrub through a 40-minute video to find the fold. The trade-off: more, shorter lessons mean more titles and more tasks to set up. If that overhead worries you, keep the lessons short and drop the number of modules instead.
Add timestamps and a one-page summary to any lesson longer than ten minutes. People come back to find a step, and a summary they can print is often what they use in the kitchen.
Homework and feedback: what makes people finish
Watching is passive. The task at the end of a lesson is what turns the course into practice, and the feedback on that task is what keeps people going after the first failure. A course with no tasks is closer to a video library.
Feedback costs your time, so do the arithmetic before you promise it. With a pilot of 8 students and a reviewed photo after every lesson, you would check 96 submissions. At 5 minutes each, that's 8 hours. At 100 students it becomes 1,200 submissions, which is a part-time job.
Our suggestion for most first courses: a simple self-check after each lesson ("I did the fold, here's my photo", accepted automatically) and one reviewed task at the end of each module. For the croissant course that's 4 reviews per student, or 32 for the pilot. You still catch the student whose butter broke in module 2 before they waste a weekend on shaping.
A short quiz helps where there's a right answer (oven temperatures, proofing signs). It doesn't replace a photo of the real thing.
Run a pilot cohort before you film everything
Record module 1 properly. For the rest, a rough version is enough: slides and a phone camera, or live sessions you record. Then sell the course to 8–10 people at a pilot price (say $29 instead of $69) in exchange for honest feedback and permission to use their questions.
Watch these during the pilot:
- The lesson after which people stop opening the next one.
- The questions that repeat. Three people asking the same thing means the lesson is missing a step.
- How long the tasks actually take. If the "15-minute" fold exercise takes an hour, say so in the lesson.
- Which tasks people skip. A skipped task is usually too vague or needs equipment they don't have.
Then re-record only the lessons that caused trouble. You'll film less overall and the final version answers questions you couldn't have predicted.
Create and sell online courses: when to add the price
Set a price once the outline and the pilot tell you what the course really delivers. Before the pilot you are guessing at both the value and the workload. If you plan to create and sell online courses as a business rather than a one-off, the price also has to cover your review hours: 4 reviews per student at 5 minutes is 20 minutes of your time for every $69 sale. More on that in how to price an online course and in the guide to selling online courses from your own site.
When this advice doesn't fit, and common mistakes
Not every course needs tasks and a cohort. A reference course (a recipe library, a software manual) is something people dip into, and forcing them through modules in order annoys them. Compliance training needs proof of completion more than feedback. And if you already teach the material live every week, your outline exists: record the classes and cut them into lessons.
Common mistakes in first courses:
- Ten modules for a beginner result. Students quit around module three because the finish line is too far.
- Everything released on day one. That works for self-paced reference material, but a skill course often does better when lessons open on a schedule; see drip content.
- Filming before outlining. The footage then decides the course structure, not the result.
- Promising feedback you can't deliver at 100 students.
How to set this up in Scholaxy
Scholaxy has five levels, and the names matter when you look for a setting. The course is the name students see in "My courses". Inside it is a program (the curriculum). Inside the program is a training: one specific run of it, with its own access, teachers, certificate and statistics. The training holds modules, and modules hold lessons. Two levels feel redundant on a first course, but they pay off on the second intake: a program can have an October and a January training with different students and the same lessons.
Open "Learning" → "Courses" and click "Create a course".
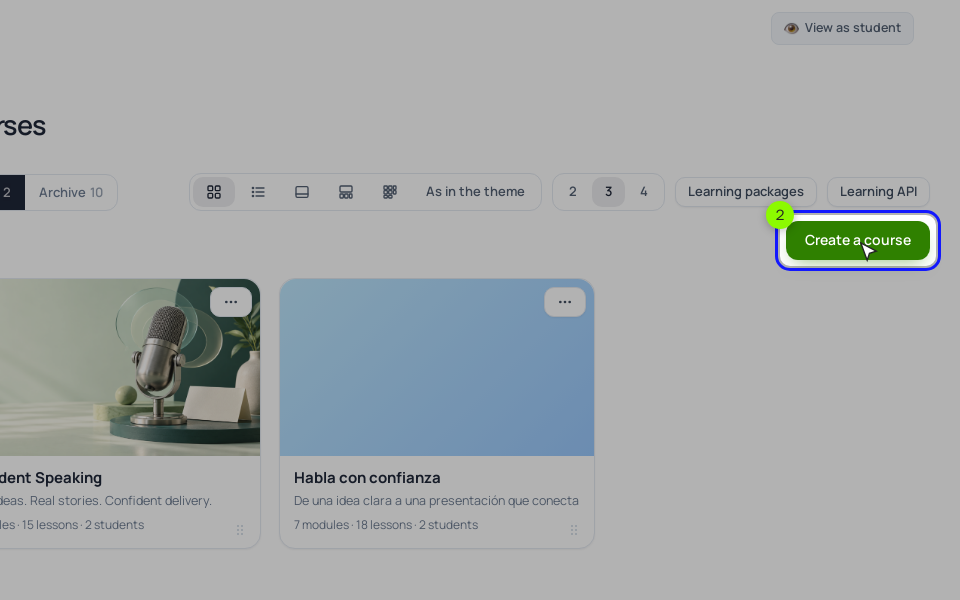
You get two options. "Quick setup" asks 9 questions (the course title and result, modules, sections, lessons, homework and who reviews it, tests and the pass mark, how the course ends, how lessons open) and builds the modules, lessons, homework and tests in about 3 minutes. On "Check the structure" you rename modules and change lesson counts, then click "Create the course". The lessons and tests are created empty, so fill them before students arrive. "I'll build it myself" gives you an empty course that you fill in four steps.
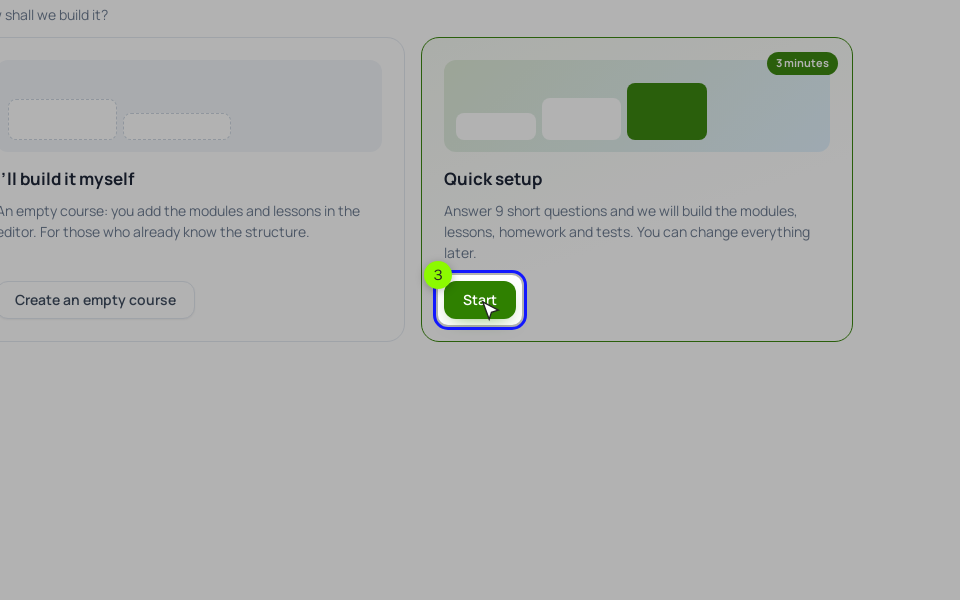
With the croissant outline ready, Quick setup is the faster path: the answers are already on paper. The new course is created hidden, and its training starts with access closed, so nobody sees half-filled lessons.
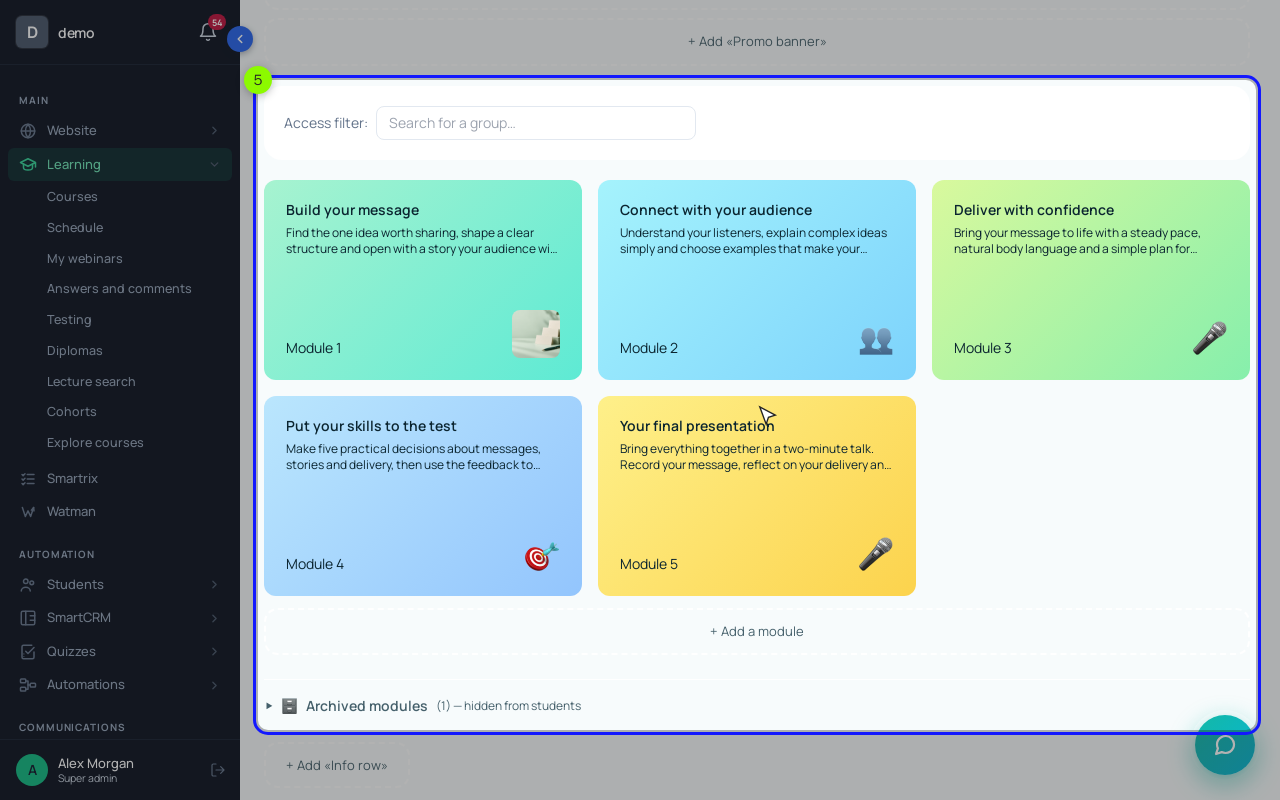
The training page holds the modules. Access, teachers, certificate and statistics sit at the top. "+ Add a module" creates the next one.
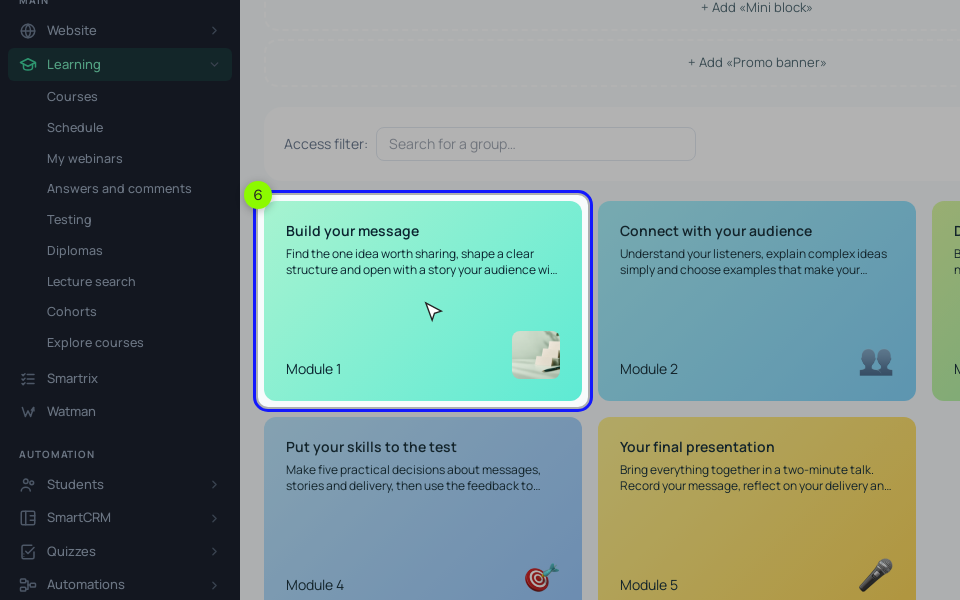
Click a module tile to open its lessons. A lesson is a page built from blocks: text, video, files, timestamps. You can upload a video straight from your computer (up to 1.5 GB). Homework lives in the "📋 Homework" card under the blocks: "+ Create an assignment", then a "+ 📎 File" question for the croissant photo. Turn on "Auto-accept" for the per-lesson self-checks. Leave the module-end tasks on manual review: by default, a lesson with an assignment counts only once the answer is approved. For timed release, the lesson's "Lesson release schedule" has "N days after the start of the training".
Back on the training page, set the reviewer in "Teacher:". Their queue is "Learning" → "Answers and comments", where they write a comment and click "✓ Approve" or "↻ For revision".
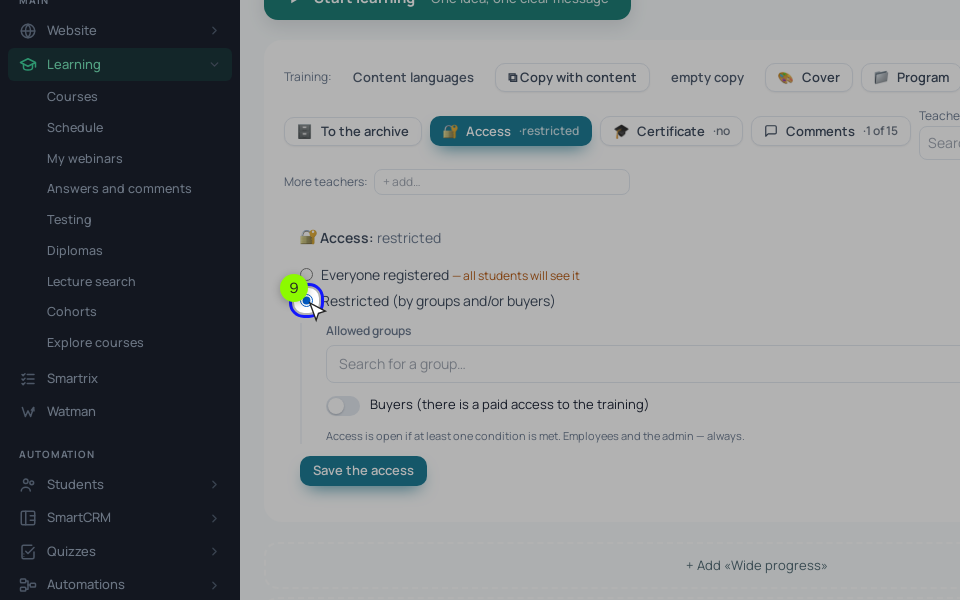
To open the course, click "🔐 Access" on the training page, choose "Restricted (by groups and/or buyers)", tick your pilot group under "Allowed groups" and click "Save the access". If people pay on your site, also turn on "Buyers": a paid order then opens the training by itself, as long as the product is linked to the course.
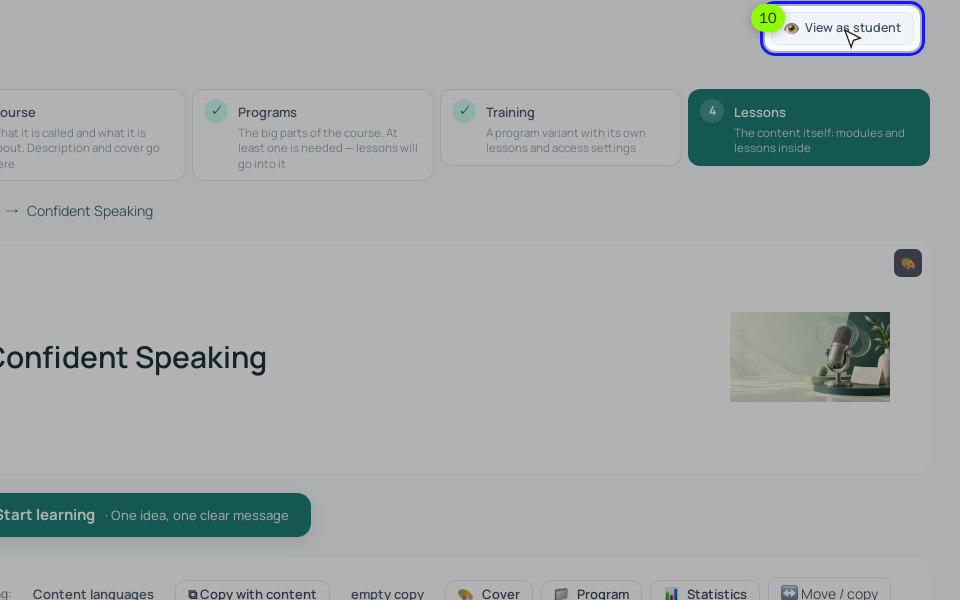
Finally, on the "Courses" page open the course menu ⋯ and choose "Show to students". If lessons are empty or tests have no questions, the "The course is not ready yet" window lists them first. Before you announce anything, click "👁 View as student" at the top right of the learning pages and go through module 1. It hides your edit buttons; "Exit this mode" brings them back. To test homework for real, add a test student with your second email to the pilot group and submit a task from another browser.
After the pilot, "📊 Statistics" on the training page shows "Enrolled" → "Came in" → "Answered" → "Completed" and a "By lesson" table, which is where you find the lesson people stall on. For the next intake, "⧉ Copy with content" makes a new training with the same lessons.
Can I offer the course for free?
Yes. In "🔐 Access" choose "Everyone registered" and any signed-in student can open it. Students can sign up on their own from the sign-in page.
What if a student paid by bank transfer?
Add them as a student and put them in the group listed under "Allowed groups". The course opens for them without an order.
Do I need to record all the lessons before launch?
No. Record module 1 well and use rough versions for the rest during a pilot. Keep unfinished lessons hidden or schedule them to open later, so students only see what is ready.
Your order of work this week
Tick these off in order. The list saves in your browser. For the launch itself (sales page, emails, payment test) use the course launch checklist.
- Write the result sentence: what the student can show at the end.
- Outline backwards: 3–6 modules, each ending in a task the student can show.
- Split modules into lessons of one action each; check total minutes and production hours.
- Decide which tasks are self-checks and which you review, and count review hours for 10 and for 100 students.
- Record module 1 properly; draft the rest.
- Create the course (Quick setup or by hand) and fill module 1.
- Set the reviewer in "Teacher:".
- Open "🔐 Access": "Restricted", your pilot group, "Buyers" if you sell.
- Go through module 1 with "👁 View as student" and submit a task as a test student.
- Show the course to students and invite 8–10 pilot buyers.
- After two weeks, check "By lesson" statistics and re-record the lesson where people stopped.