Drip Content: How to Release Course Lessons on a Schedule
Drip content means the lessons of a course open over time instead of all on the day someone buys. Lesson 1 is there at once, lesson 2 appears two days later, lesson 3 a few days after that. The schedule can follow calendar dates, count days from each student's own start, or wait until the student has finished the step before.
To set it up, decide what each gap between two lessons is for (practice, a result the student has to wait for, a live session), give every lesson a date or a day number, show students when the next lesson opens, and send a short email on the days when they have to do something. Then test the whole thing from a student account, not from your admin view.
We'll use one example throughout. Say you sell Cast in Concrete, a $69 video course in eight lessons: a planter, a set of coasters and a small side-table top, all cast at home. People buy it any day of the month, so the lessons are counted in days from each purchase. The concrete sets the pace. A planter poured on day 2 needs about a week before it can be sanded, so the sanding lesson opens on day 9, not on day 3.
When drip content helps, and when it gets in the way
Drip helps when the course is practice with waiting in between. Each lesson in Cast in Concrete asks the student to pour or finish a piece, and a lesson about sanding is useless to someone whose planter was poured an hour ago. It also helps when lessons are discussed together: if a group meets on Tuesdays, everyone should have the same lesson that week, which is the model of a cohort-based course.
It gets in the way in three situations. A reference course (twenty short lessons on lighting setups, say) is used by looking up the one you need today, and a lock on lesson 14 only annoys. A buyer who already knows the basics wants to skip to the advanced part. And a short course stretched over weeks feels like a subscription that drips slowly: four lessons a week apart means three weeks of waiting for what could be one evening.
Drip content is a different thing from a drip email campaign, though the names are close. The campaign is a sequence of emails to people who haven't bought yet; drip campaigns covers those. Here the subject is lessons inside a course someone has already paid for.
Four ways to schedule lessons
| Trigger | How it works | Fits |
|---|---|---|
| A calendar date | Lesson 4 opens on March 10 for everyone | A group that starts together, a launch with a start date |
| Days after the student's start | Lesson 4 opens on day 9 of each student's access | Self-paced courses sold every day |
| After the previous lesson | Lesson 4 opens when lesson 3 is marked complete | Short courses where order matters more than time |
| After an action | An assignment is accepted, a call took place, someone opens it by hand | Courses with homework review, bonus lessons |
The rules combine. "Day 9, and only if lesson 3 is done" keeps a student from jumping ahead and also from rushing. For Cast in Concrete we'd use days alone. A student who skipped the coasters should still get the lesson about casts that go wrong, and an order rule would block it until they make coasters they may not want.
Plan the gaps from the work, not from the calendar
Start from what the student does between lessons, then count. (If the lessons themselves aren't outlined yet, create the online course first.) Here is the schedule for the example:
| Lesson | Opens on day | Why this gap |
|---|---|---|
| 1. Tools, mix and a clean workspace | 0 | Shopping and preparation, available at once |
| 2. Your first planter: mixing and pouring | 2 | Two days to buy cement mix and a mould |
| 3. Demoulding without cracks | 5 | The planter from day 2 has set and can come out |
| 4. Sanding and sealing | 9 | The planter has had a week to cure |
| 5. Coasters with inlays | 12 | A small piece while the planter dries off |
| 6. A small side-table top | 16 | The student now knows the mix and the mould |
| 7. When a cast goes wrong: cracks, bubbles, crumbly edges | 23 | Three casts in, problems start to show |
| 8. Colour and your own moulds | 30 | The table top from day 16 is finished |
The course takes 30 days. Released all at once, someone could watch every video on the first evening and start nothing, which is the real reason to drip this one.
A few rules we follow when drawing up a table like this:
- Lesson 1 opens at once. A buyer who pays and finds only locks will reasonably think something broke.
- Material people need for planning (the shopping list, the kit) goes on day 0, never behind a lock.
- No gap is longer than the work needs. A week of silence after lesson 6 is fine because the table top needs it; three weeks with nothing to do is where we would expect people to drift off.
- Use the same unit everywhere. "Day 9" in the course, the emails and the support answers.
What students should see
Keep the closed lessons visible, with the day or date each one opens. The course page then doubles as the programme: a buyer sees all eight lessons and knows that sanding comes on day 9. Hiding them makes the course look like two videos. The exception is a bonus lesson you don't want to promise; that one can stay hidden until you open it.
Say the date inside the lesson before it, too. The last line of lesson 3 in the example is "Lesson 4 opens on day 9. Don't sand the planter before then."
Emails for the release days
One email per lesson would be eight emails in 30 days. We'd send six, on the days when the student has to do something at the workbench: pour, demould, sand, start the table top. Lessons 5 and 7 open quietly: the coasters are a side project people fit in when they have an evening, and the lesson on failed casts is one students look up when they need it.
Example release emails for the $69 Cast in Concrete course. Day 0 is the day of purchase.
| Day | Subject | Purpose |
|---|---|---|
| 0 | Welcome to Cast in Concrete: what to buy this week | Lesson 1 and the shopping list |
| 2 | Lesson 2 is open: pour your first planter today | The first cast |
| 5 | Day 5: time to take the planter out of the mould | Demoulding, lesson 3 |
| 9 | Day 9: sand and seal the planter | Finishing, lesson 4 |
| 16 | Lesson 6: a side-table top | The biggest piece |
| 30 | The last lesson: colour and your own moulds | Finish the course |
The emails count days from the same moment as the lessons, the purchase. If they count from somewhere else (a sign-up the week before, say), the email says "lesson 2 is open" while the student still sees a lock.
Where drip content goes wrong
The setup error we'd check first is calendar dates on a course sold every day. Suppose you launch Cast in Concrete on March 1 and give the lessons fixed dates from March 1 to March 31. A student who buys on March 1 gets the planned pace. A student who buys on March 20 finds six lessons already open, then gets lessons 7 and 8 four and eleven days later. Counting days from each purchase gives the March 20 buyer the same 30 days as everyone else.
Other mistakes we'd check for:
- Using drip as refund protection. With a 14-day refund window, the example schedule has opened five of eight lessons by day 14 (days 0, 2, 5, 9 and 12). Anyone set on watching and refunding still can.
- Changing the gaps mid-course without telling anyone. Move lesson 4 from day 9 to day 7 and current students see it two days early; move it to day 12 and someone who had it open may find it locked again, depending on the tool.
- Locks without dates. "Locked" with no day next to it reads as a bug, and students write in to ask.
- Testing as the admin. If your own account sees every lesson (in Scholaxy it does), the locks are invisible to you until a student complains. Buy the course yourself, or use a test student.
How to set this up in Scholaxy
In Scholaxy every lesson has its own "Lesson release schedule", and the training (the run of the course that students enter) has a "How lessons open" setting that adds an order rule on top. You'll set both, check the module as a whole, and add a process for the emails.
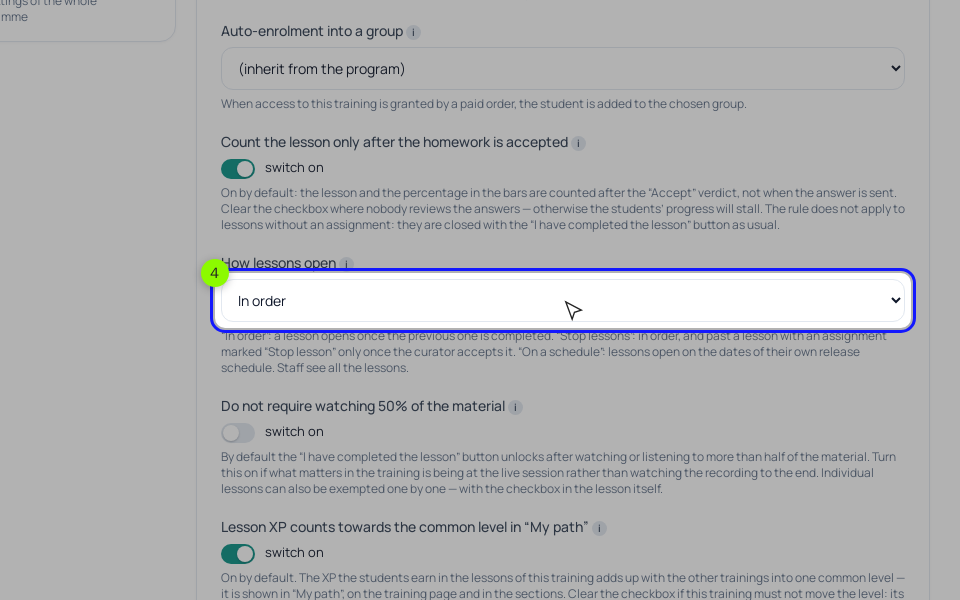
Step 1. The training rule. On the training page click "🎨 Cover" to open the training settings and go to the "Behaviour" tab. "How lessons open" has four options: "All at once", "In order" (a lesson opens once the previous one is completed), "Stop lessons" (in order, and past a lesson whose assignment is marked "Stop lesson" only after the curator accepts it) and "On a schedule" (lessons open on the dates of their own release schedule). For Cast in Concrete choose "On a schedule". If you choose "In order", the release days still apply: a lesson then waits for both its day and the previous lesson. A new course built with "Quick setup" can do this in one go: its "On a schedule" option opens a new module every 3, 7 or 14 days.
Step 2. The lesson's day. Open a lesson with ✎ ("Edit the lesson"). On the right, under "Page design", leave "Lesson visibility for students" on "Available" and set "Lesson release schedule" to "N days after the start of the training", then type the day: 2 for lesson 2, 9 for lesson 4. Day 0 is the date the student got access to the training personally or bought it; if the course is opened through a group, it's the date the student signed up. For a course sold through checkout, that is the day of payment. Lesson 1 stays on "Open right away (as usual)". "From a specific date" is the fixed-date mode from the diagram above, for a group that starts together.
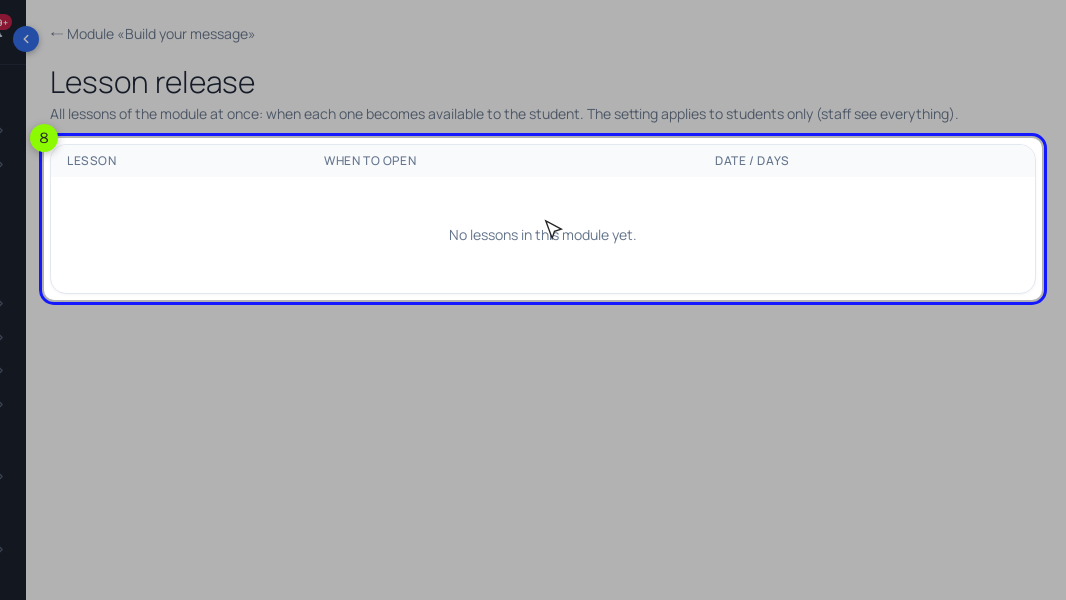
Step 3. The whole module at once. In the module's settings, "Lesson release (dates, all at once) →" opens a table of the module's lessons with "When to open" and the day or date for each. Fill it in and click "Save all"; other lesson settings stay as they were. Students see a closed lesson in the module list with "Opens" and its date.
Step 4. The emails. Create a process in "Processes", started "On event" by "Order paid", with the rule "Training access", open now, one of: the Cast in Concrete training, and "The limit of entries per client" set to 1, so buyers of your other courses don't get these emails. On the canvas: "Send an email" (day 0), "Delay" of 2 days, "Send an email", "Delay" of 3 days, and so on. The delays between the six emails are 2, 3, 4, 7 and 14 days, which adds up to day 30. If you want the lesson and its email to arrive together to the minute, set the lessons to "Unavailable and not shown" plus "By access (a process / an action will open it)" and put an "Operation" "Grant lesson access" before each email. Don't pair "By access" with "Unavailable to students but shown": the lesson then stays grey after access is granted. A grant also does nothing to a lesson in any other release mode, and the process run says so.
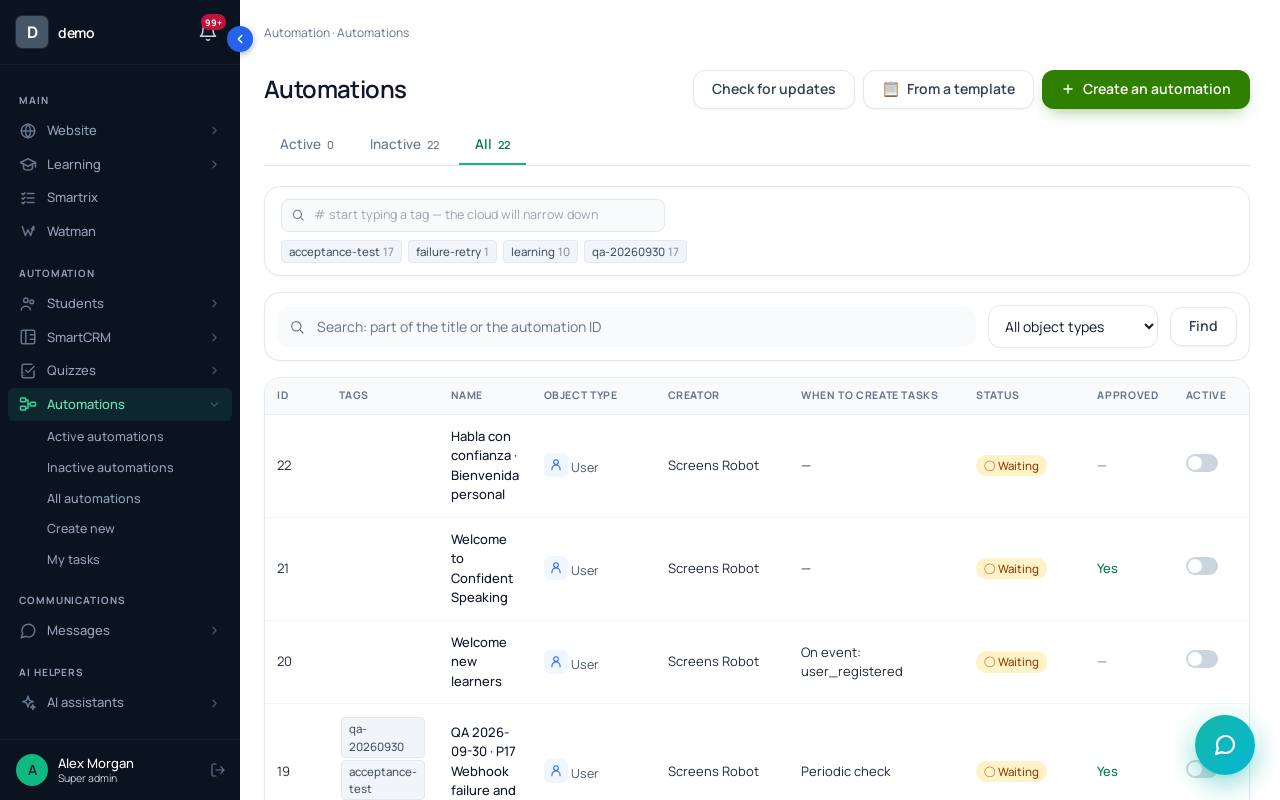
Step 5. Test as a student. Staff see every lesson, including in "👁 View as student", so the locks won't show for you. Create a test student, give them access, and open the course with "👁 Sign in as the user" on their card: lesson 1 open, lesson 2 with its date.
Setup order
- Write the lesson table: what the student does after each lesson, and the day the next one opens.
- Put the kit, the shopping list and anything needed for planning on day 0.
- Set "How lessons open" on the training: "On a schedule", or "In order" if the lessons build on each other.
- Give every lesson its day, in the lesson editor or all at once with "Lesson release (dates, all at once) →".
- Mention the next opening day at the end of each lesson.
- Build the email process with delays that add up to the same days as the lessons.
- Sign in as a test student and check lesson 1 is open and lesson 2 shows its date.
- After the first ten buyers, look at which lesson people stop at and whether the gap before it is longer than the work needs.