How to Build an Automated Sales Funnel for an Online Course
An automated sales funnel for an online course is a chain of steps that runs by itself once someone gives you an email address. A form captures the address. The person gets a tag or joins a group. A short series of emails goes out with pauses in between, one of them makes the offer, and before anything else is sent the system checks whether the person has already paid. When they pay, the chain stops and the course opens. You build it once, and every new lead goes through the same steps.
Drawing that funnel is easy. Running it is where the details bite: what starts the chain, how long each pause is, and what happens when someone buys on day two. A chain without a purchase check keeps pitching people who already paid you, and those are the people whose goodwill you need most.
The five parts of an automated sales funnel
If you still need the funnel on paper (stages, lead magnet, offer), start with the course sales funnel walkthrough. This article is about the version a machine can run. It has five parts:
- Entry. A form where people ask for something free: a guide, a mini-lesson, a checklist. Make the email field required, because every later step is tied to that address.
- A mark. A tag or a group that says where the person came from. You will use it to build segments and to compare sources later.
- Warm-up emails with delays. Two or three messages that help on their own and lead up to the problem your course solves.
- The offer. One email with the price, what's inside and a direct link to buy.
- The purchase check and the stop. Before each email after the offer (and ideally before every step), the process asks one question: has this person paid? If yes, the run ends.
Most email tools handle parts one to four. Part five is the one to test hardest, because when it fails nothing looks broken. The emails still go out, just to the wrong people.
Example: a $79 sourdough course
Say you sell Sourdough at Home, a $79 video course, and the free resource is a PDF with a 7-day starter schedule. Your landing page for the PDF gets 2,000 visitors a month. A quarter of them leave an email, so 500 leads. Three percent of those leads buy during the series: 15 sales, $1,185. These are example numbers for the walkthrough, not benchmarks. Put your own into the calculator.
Example values (change them to your own):
| Step | Example | Result |
|---|---|---|
| Visitors per month | 2,000 | |
| Visitor to lead | 25% | 500 leads |
| Lead to buyer | 3% | 15 buyers |
| Price | $79 | $1,185 revenue, about $0.59 per visitor |
| +1 point visitor to lead (26%) | 520 leads, 15.6 buyers, about $1,232 | |
| +1 point lead to buyer (4%) | 20 buyers, $1,580 |
Look at the last two rows. One more point of opt-in adds less than one sale a month; one more point at the buying step adds five sales and $395. With numbers like these, the emails after the form deserve more of your time than another landing-page redesign. If your page converts poorly, that flips.
The email sequence: four emails, not nine
We'd start with four emails. A longer series has more chances to sell, and each extra message also gives people a reason to unsubscribe before the offer arrives. Four is enough to deliver the freebie, earn a little trust, make the offer once and remind once. If the numbers say people need more time, add an email between two and three later. For longer nurture sequences with interest tags, see lead nurturing for course creators.
Example sequence for the $79 sourdough course:
- Day 0. Deliver the starter schedule and say what to do first. Stop condition: none, everyone gets it.
- Day 2. The mistake that kills most first starters (a cold kitchen, the wrong flour) and how to spot it. Stop condition: bought the course.
- Day 4. The offer: what the $79 course covers, who it's for, the link to pay. Stop condition: bought the course.
- Day 7, only if not bought. A short reminder that answers the most common objection ("I don't have time to bake every day") and repeats the link. Stop condition: bought the course.
Email one should arrive within minutes and do exactly what the form promised, nothing more. If the freebie itself is the weak link, the lead magnet funnel guide goes deeper on what to give away.
A word on deadlines. "20% off for the next 72 hours" works in a launch where everyone starts on the same date. In an evergreen funnel each person enters on a different day, so one discount code with a fixed end date can't give everyone the same window, and a countdown that quietly resets is worse than none. We'd skip the discount in an evergreen chain and let the reminder answer the objection people raise most.
Branches: what happens when someone buys early
A straight line of emails is easy. The branches are where an automated sales funnel earns the name. Walk through these cases before you switch anything on:
- They buy after email one, straight from your sales page. A stop rule on the whole chain has to cancel their run, so emails two to four never go out. A condition placed only after the offer is too late.
- They buy after the offer. A "wait for a condition" step sees the purchase and ends the run without the reminder.
- They ignore everything. The wait times out after three days, the reminder goes out, and the run ends. No fifth email, no loop.
- They already bought the course months ago and now request the PDF. A strict stop rule cancels them before the first email, so they never get the file. Either deliver the PDF on the thank-you page too, or place the check after the delivery email.
- They request the PDF twice. Usually the series shouldn't restart, so limit entries to one per person.
What counts as "paid" matters more than it looks. Check for access to the course or a paid order for that product. Don't check "clicked the buy button" or "has an order": an unpaid order awaiting payment is not a sale, and treating it as one stops the chain for people who changed their mind at checkout.
Where automated funnels go wrong
Check for these setup mistakes; a single test lead catches most of them:
- The email field is optional, so someone leaves a phone number only and nothing after the form runs.
- There is no stop, and buyers get "last chance" emails.
- The offer email promises a discount that the checkout page doesn't apply.
- The chain is tested on real leads. Send a test lead with your own address first, and use a dry run if your tool has one.
- The email step ignores unsubscribes. Check how your tool's send step treats people who unsubscribed before you send 500 people a sales email.
- Success is judged by open rates. Opens tell you about subject lines. The number that matters is leads to buyers, per source; sales funnel analysis covers what to measure at each step.
This setup also doesn't fit every course. A $2,000 coaching program sells on a call, so the chain should book the call instead of sending people to a checkout. A cohort that starts on a fixed date sells better with a dated launch sequence than with an evergreen chain that runs every day. And if fewer than a hundred people a month request the freebie, a month of data tells you very little. Fix the obvious problems and wait before you rewrite emails.
What to look for in an automated sales funnel creator
People search for an automated sales funnel creator expecting a template that does everything. What you need is smaller and stricter. Before you pick a tool, check that it can do the following:
- Start the chain from the form itself, not only from "a contact was created" (in some tools that event fires only for brand-new contacts, so a returning person never enters).
- Pause for a set number of days between emails.
- Check a condition on payment or course access, not only on email opens.
- Stop a run from anywhere in the chain when the person buys.
- Limit entries per person.
- Run a test or dry run before real leads go through.
- Show how many people sit at each step.
The payment check is only as good as the data behind it. If payments, course access and email live in separate tools, the funnel depends on the connection between them. In one system, the check reads the same record that opened the course.
How to set this up in Scholaxy
In Scholaxy the funnel is one process with a form in front of it. Payment opens the course, and the process reads that access to know who has bought.
Before the funnel, set up the sale itself. In "SmartCRM" → "Products", create a product with the "Training access" type and link the course. Add an offer: $79, "No limits". In the course, open "🔐 Access" and switch on "Buyers"; without it, payment won't open the course. Once that works, a paid order opens Sourdough at Home by itself.
Step 1. The buyers segment. This is what the process will use as its stop rule.
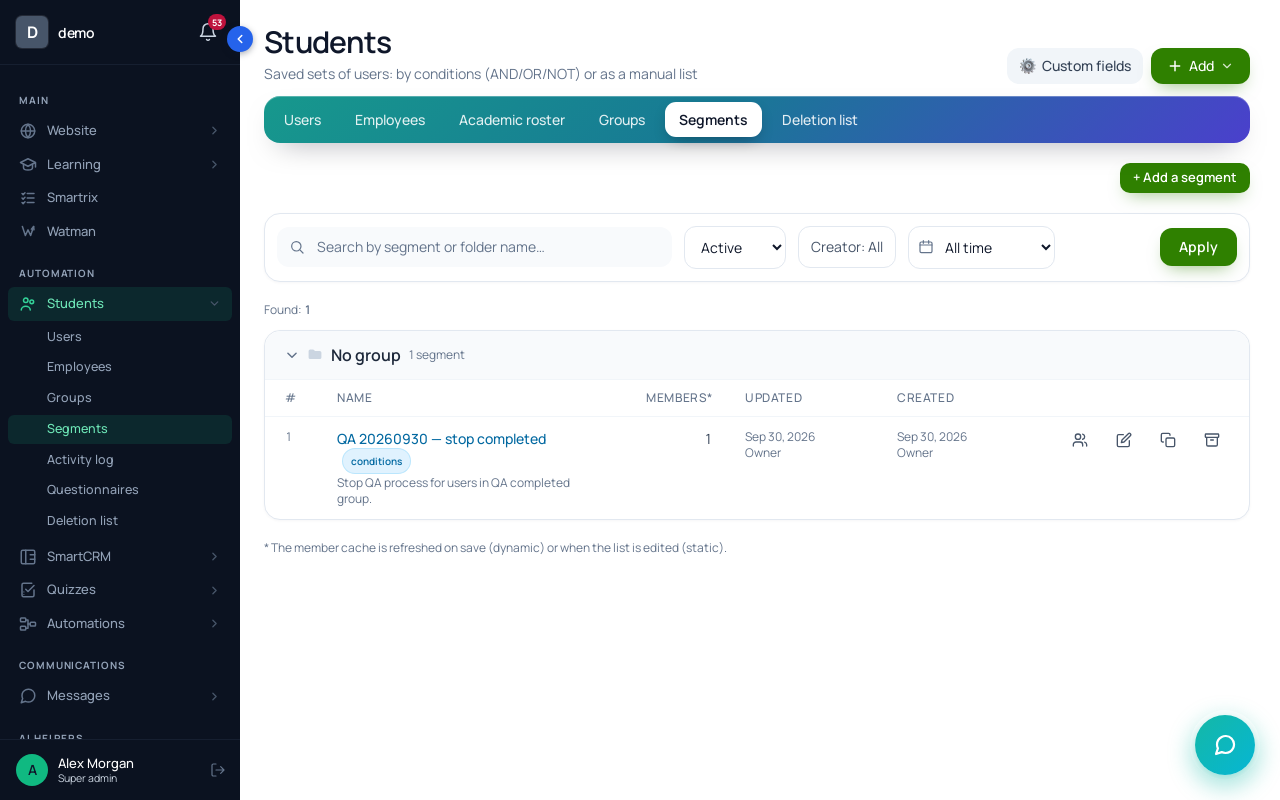
Create a "Dynamic" segment called "Bought Sourdough at Home". Click "+ Add a group of conditions", choose the "Training access" condition, set it to the "open now" option with your course, then "Save and recalculate". A dynamic segment recalculates itself, so new buyers join it without you touching anything.
Step 2. The process.
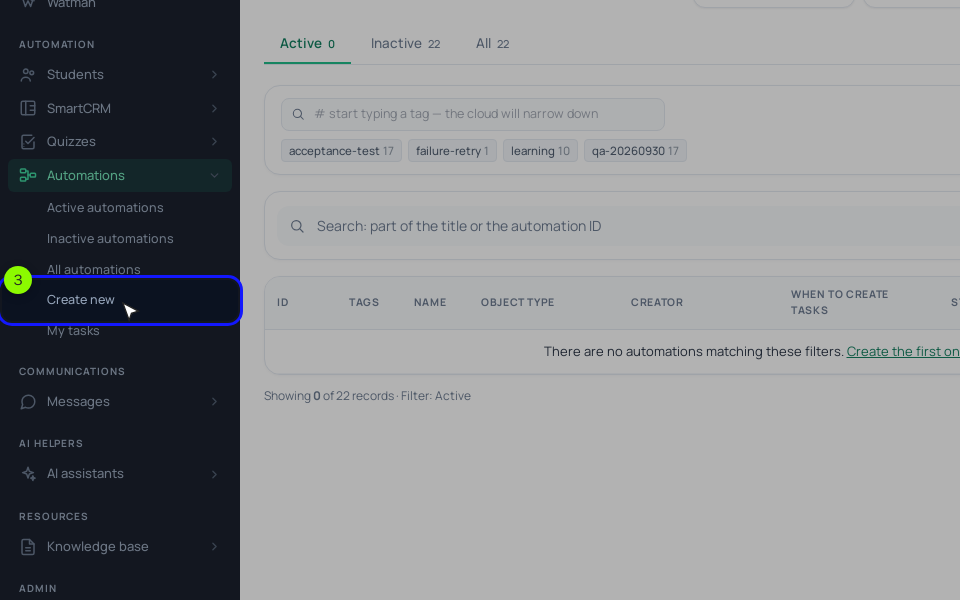
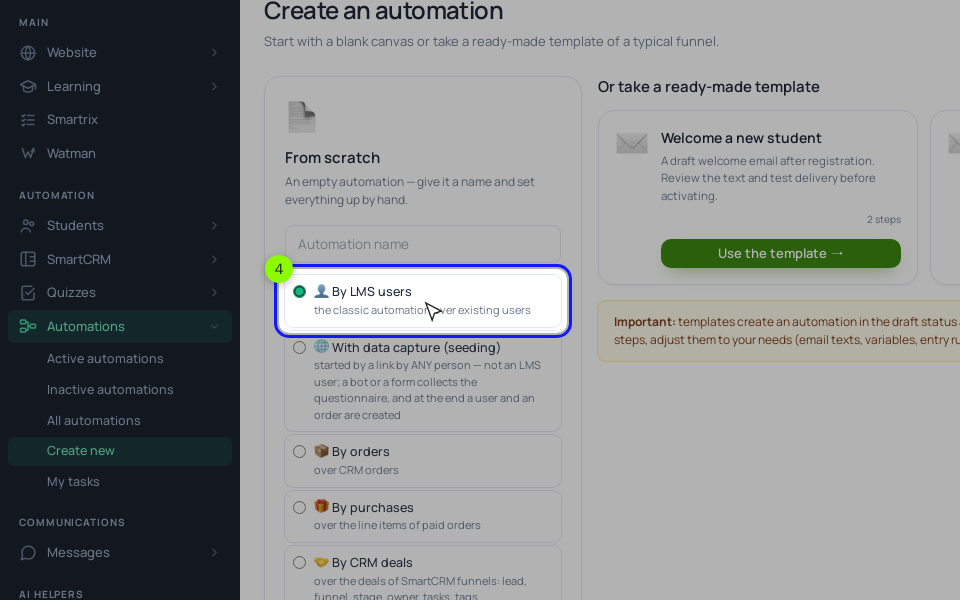
On the "General" tab, set "The launch trigger" to "Disabled": the form will start the process, and starts from a form work even when the process is inactive. Under "Execution control", set "The limit of entries per client" to 1 and pick the buyers segment in "A stop condition by segment". When a person in a run lands in that segment, the process cancels their run, whichever block they are waiting on. Click "Save".
On the "Process" tab, add blocks with "+ Add a block" in this order:
- "Operation" → "Add a tag": sourdough-lead.
- "Send an email" with the PDF link.
- "Delay": 2 days, then "Send an email" with the mistake.
- "Delay": 2 days, then "Send an email" with the offer.
- "Wait for condition": "Training access" with the "open now" option and your course, timeout 3 days.
- The default output goes to "End the process". The timeout output goes to "Send an email" with the reminder, then to "End the process".
Use "Send an email" for every message here. The "Run a broadcast" block can send a chain email from a template, but those emails don't respect unsubscribes yet, and broadcast emails need your own SMTP or SendPulse connected. If you want a discount in the offer, keep in mind that a "Pricing" button on your website charges the "Original" price of the offer. Discounts work in CRM orders or with a promo code that has a "Valid until" date, which suits a launch better than an evergreen chain.
Click "🧪 Simulate" for a dry run (nothing is sent), then "▶ Test" with your own email. The test emails really go out. Check the run on the "Tasks" tab, cancel it, and click "▶ Activate".
Step 3. The form.
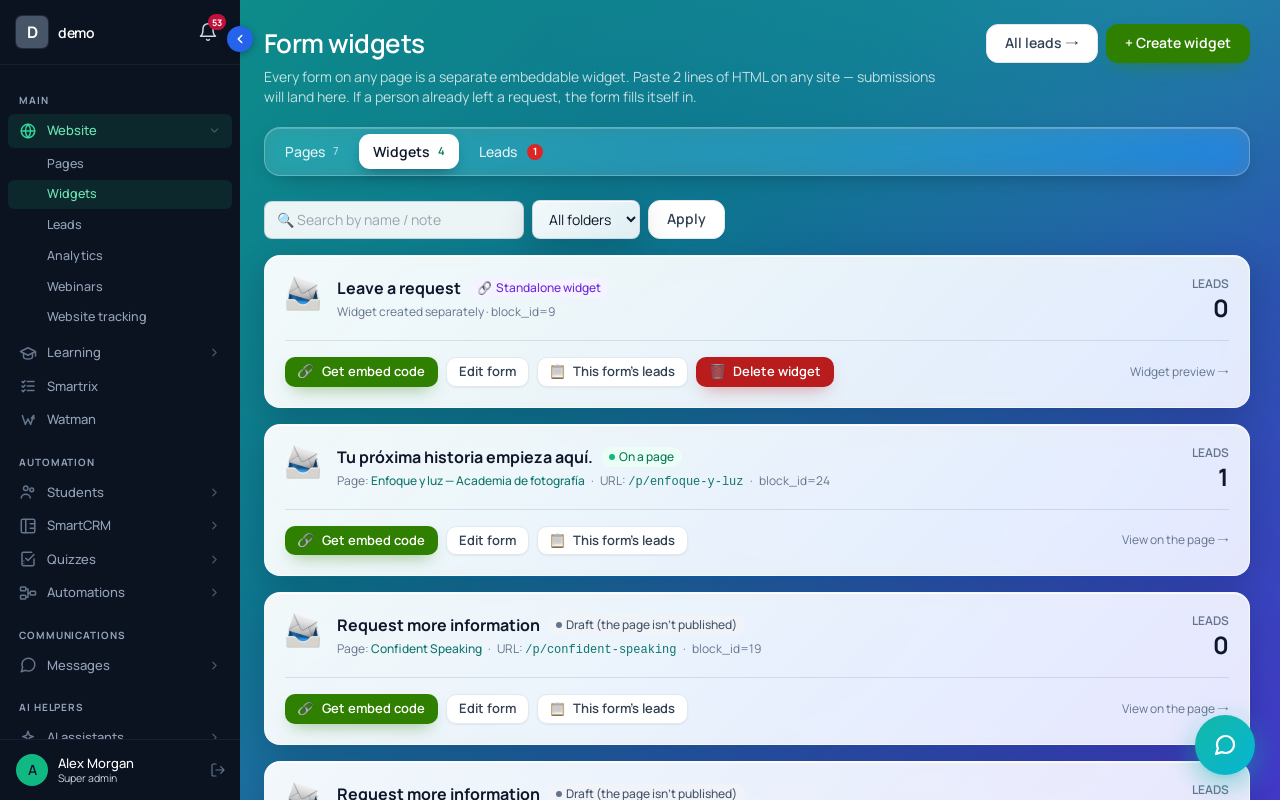
On the "Fields" tab, tick "Required" on the Email field. In the default form it's optional, and a lead without an email gets no person card, no groups and no processes.
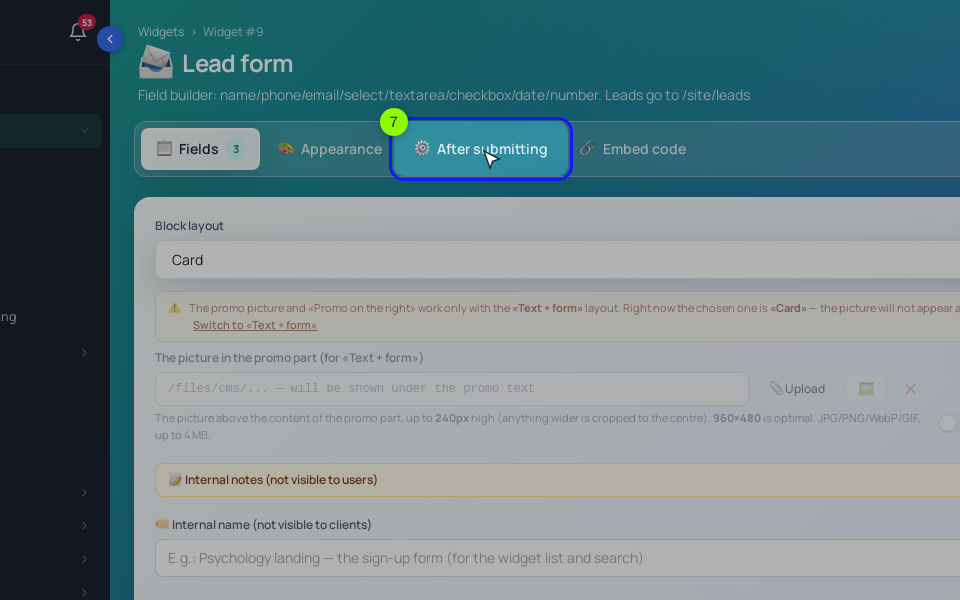
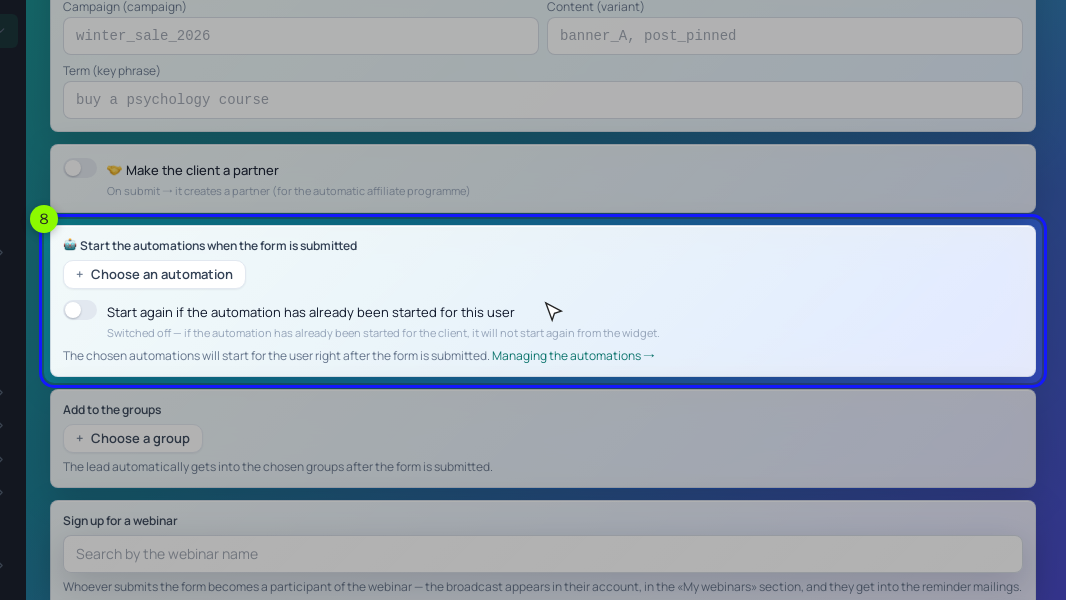
On the "After submitting" tab, pick the group in "Add to the groups" (say, "Sourdough guide") and the process in "Start the processes when the form is submitted". Leave "Start again if the process has already been started for this user" off, so a second request doesn't restart the series. Set "Redirect after submit" to a thank-you page that also links the PDF; that covers existing buyers, whom the stop rule skips. Click "Save the block", publish the page and send yourself a test lead.
Step 4. Watch it. The "Statistics" tab of the process has "The funnel by steps", which shows how many people reached each block. For the whole path from visit to payment by ad source, use "SmartCRM" → "End-to-end analytics" and tag your ad links with UTM.
Setup order and the first week
Build it in this order, so each step can be tested before the next one depends on it:
- Product, $79 offer, "Buyers" on in the course access. Buy it once with a test payment from a second email address and check that the course opens.
- The "Bought Sourdough at Home" segment. Your test buyer should show up in it.
- The process with four emails, the wait step and the stop segment. Simulate, then test on your own address, not the test buyer's: the stop rule would end that run at once.
- The form with Email required, the group, the process and the thank-you page. Send a test lead and confirm the first email arrives.
- After a week, open "The funnel by steps". If most people stop at the offer, rewrite email three before you touch anything else. If buyers ever received the reminder, check the segment condition first.