Lead Magnet Funnel: Deliver a Free Resource and Introduce Your Course
A lead magnet funnel is the short path from "I want that free checklist" to "I bought the course". Someone lands on an opt-in page, leaves a name and an email, gets the free resource within a minute, and over the next few days receives a handful of emails that lead from the freebie to your paid course. Each part has one job: the page earns the email address, the delivery email proves the address works, and the follow-up makes the offer once.
Getting ideas for the freebie is the easy half (if you're still choosing one, start with these lead magnet examples). This article covers the other half: the opt-in page, how the file gets delivered, how the email reaches the inbox, and how the freebie hands over to the offer.
How a lead magnet funnel works
We'll use one example the whole way through. Say you sell First Year with Bees, an $89 video course for new beekeepers. The free resource is The 10-Minute Hive Inspection Checklist: one printable page (what to look at on each frame, in order) and a 5-minute video of a real inspection.
Your opt-in page gets 1,200 visitors a month from a beekeeping forum and search. If 30% of them sign up, that's 360 new leads a month, about 12 a day. If 2.5% of those leads buy during the follow-up, you sell 9 courses, $801. These are example numbers, not benchmarks. What matters is the shape:
The thank-you page and the delivery email do the same job twice on purpose. The page gives the file right now; the email leaves a copy for tomorrow and confirms the address is real.
The lead magnet landing page: a template
A lead magnet landing page has one goal, the email address, so everything that doesn't help with that comes off: the site menu, the blog links, the footer with ten links. For the beekeeping checklist, the page needs these parts, top to bottom:
- A headline that names the result: "Inspect a hive in 10 minutes and know what you're looking at." Not "Free beekeeping resource".
- One line on who it's for: "For beekeepers in their first or second season, with one to three hives."
- A picture of the actual checklist page. A real page shows the reader what they get; a 3D ebook cover shows that you have a design tool.
- Three or four lines on what's inside: the order of the frames, the five things to check on each, what to write down, when to close the hive.
- The form: first name and email, nothing else. The button says what happens: "Send me the checklist".
- A line under the button: "The PDF arrives by email in a minute. After that, a few emails about the first season. Unsubscribe any time."
- Two sentences about who you are.
We'd ask for nothing beyond name and email. A phone field on a free checklist tells the reader to expect a sales call, and "How many hives do you have?" can wait for the day 2 email. The sales page is a different job, covered in how to build a course landing page.
Delivery: email, thank-you page or free course access
There are three ways to hand over the freebie, and they trade speed against proof:
| Delivery | What the reader gets | If they close the tab | Good for |
|---|---|---|---|
| Email with a link | The file in their inbox | Still has it | Every lead magnet. It also proves the address works |
| Thank-you page | The file and a video right away | Loses it, unless it was also emailed | Showing the next step while attention is high |
| Free course access | Lessons inside your school | Needs to sign in again | Mini-courses with several videos |
We'd use the first two together and keep course access for a freebie that really is several lessons. Delivery only on the thank-you page costs you the list: anyone can type a fake address and still get the file, so the follow-up goes nowhere. Course access costs a sign-in, and a reader who closes the tab first needs a sign-in link from you.
Link to the file instead of attaching it. The email stays small, and if you fix a typo in the PDF next month, the old link serves the new version.
Getting the delivery email into the inbox
A delivery email in the spam folder breaks the funnel at step two, and nothing in your numbers shows it until someone complains. The basics:
- Send from your own domain (hello@yourschool.com), with the DNS records your email service gives you: the ones that prove it may send for your domain, and a DMARC record. A free address like yourname@gmail.com can't carry those records, because you don't control that domain.
- Keep the first email plain: a subject that says what's inside ("Your hive inspection checklist"), two or three short lines, one link to the file and one to the video. No banner image, no five buttons.
- Send it at once, with no delay block in front of it. An email that arrives an hour later competes with everything the reader opened since.
- On the thank-you page, say where the email comes from and what to do if it hasn't arrived in five minutes: check the spam and promotions folders.
- Before you send traffic, request the freebie yourself from a Gmail address and from an Outlook address, and check where each copy lands.
From freebie to offer
The freebie solves the first step of the problem; the follow-up shows the second step and offers the course for it. The checklist answers "what do I look at?" and leaves open what the frames mean and what to do in each month of the season. That's the course.
We'd write the offer email first and then check that the freebie leads to it. If the offer talks about swarm control and the checklist was about honey labels, no sequence will bridge that gap.
Four emails are enough here. The planner starts with this example; change the days and switch emails off to fit your own course.
Example follow-up for the $89 beekeeping course:
- Day 0. The PDF link, the video link and one task. Everyone gets it.
- Day 2. What a healthy frame looks like, and what to do if you find no eggs. Stops if they bought.
- Day 4. The offer: the $89 course from spring to winter, one link to the sales page. Stops if they bought.
- Day 7. "Is a course worth it for one hive?" answered, the same link. Stops if they bought.
Should the delivery email mention the course? We'd allow one line in a P.S. ("The whole first season is in First Year with Bees") with no price. The reader learns a paid course exists, and the email they asked for doesn't turn into a pitch. Anyone who buys on day 0 leaves the sequence through the stop rule; the automated sales funnel guide covers how to set it and what counts as "bought". For readers who aren't ready on day 7, a longer lead nurturing sequence takes over.
Lead magnet funnel examples from other niches
The same parts work with very different freebies. Some sketches (names and prices are made up):
- Chess for adult beginners. A six-question quiz, "Which opening fits how you play?", with the result on the thank-you page and by email. Day 3: the traps in that opening. Day 5: a $59 opening course.
- Basic sign language. A 5-day email mini-course, one short video a day. Here the freebie is the follow-up, so the $120 course is offered on day 6, after the last lesson.
- Woodworking. A cut list for a first workbench as a PDF, a 3-minute video on the thank-you page. Day 3: the joint first benches get wrong. Day 5: a $149 course.
Where this funnel breaks
Run one test lead through the whole thing before you share the page. These are the faults it catches:
- The file link only works for you. A link copied from your admin area may open only for signed-in users. Test it in a private browser window.
- Email isn't a required field, so a person who skips it gets nothing and never enters the sequence.
- The thank-you page has no file link, so a reader whose email is filtered has nothing at all.
- The offer email links to your home page instead of the sales page with the price and the buy button.
- A person who requests the freebie twice gets the whole sequence twice.
The funnel also has limits. With fewer than about a hundred sign-ups a month, a week of results says almost nothing about the emails: fix the obvious faults and wait. For a course over about $500, the step after the freebie is usually a call or an application, not a checkout link.
How to set this up in Scholaxy
In Scholaxy the funnel is a file in the media library, two website pages, a lead form and one process. Set up the sale first: a "Training access" product linked to the course, an $89 offer, and "Buyers" switched on in the course access, so a payment opens the course by itself.
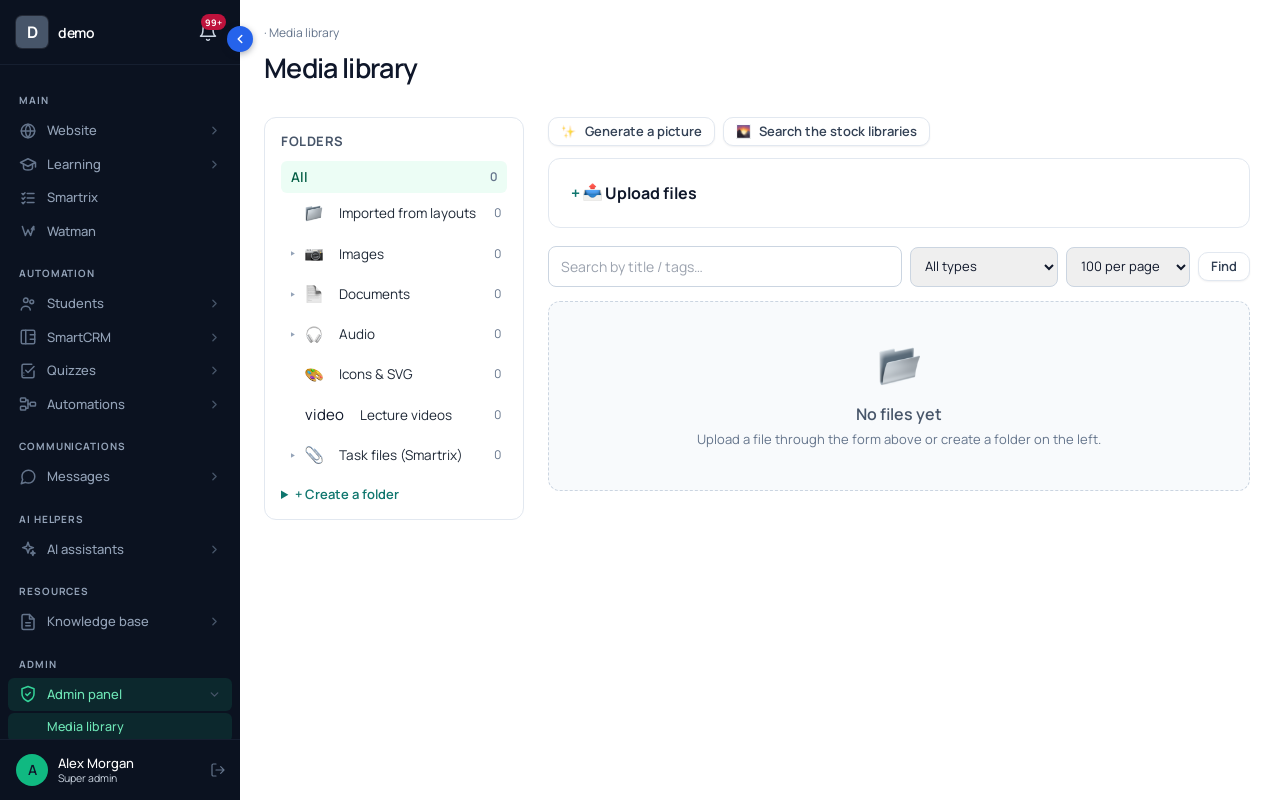
Step 1. The file. In "Admin panel" → "Media library", upload the PDF with "📤 Upload files", open its card and click "🌐 Publish to the outside" (owner and administrators). The "Public link" opens without signing in: use it in the email and on the thank-you page. The "Permanent link to the file" opens only for people signed in to your school, so a new lead would hit a sign-in screen.
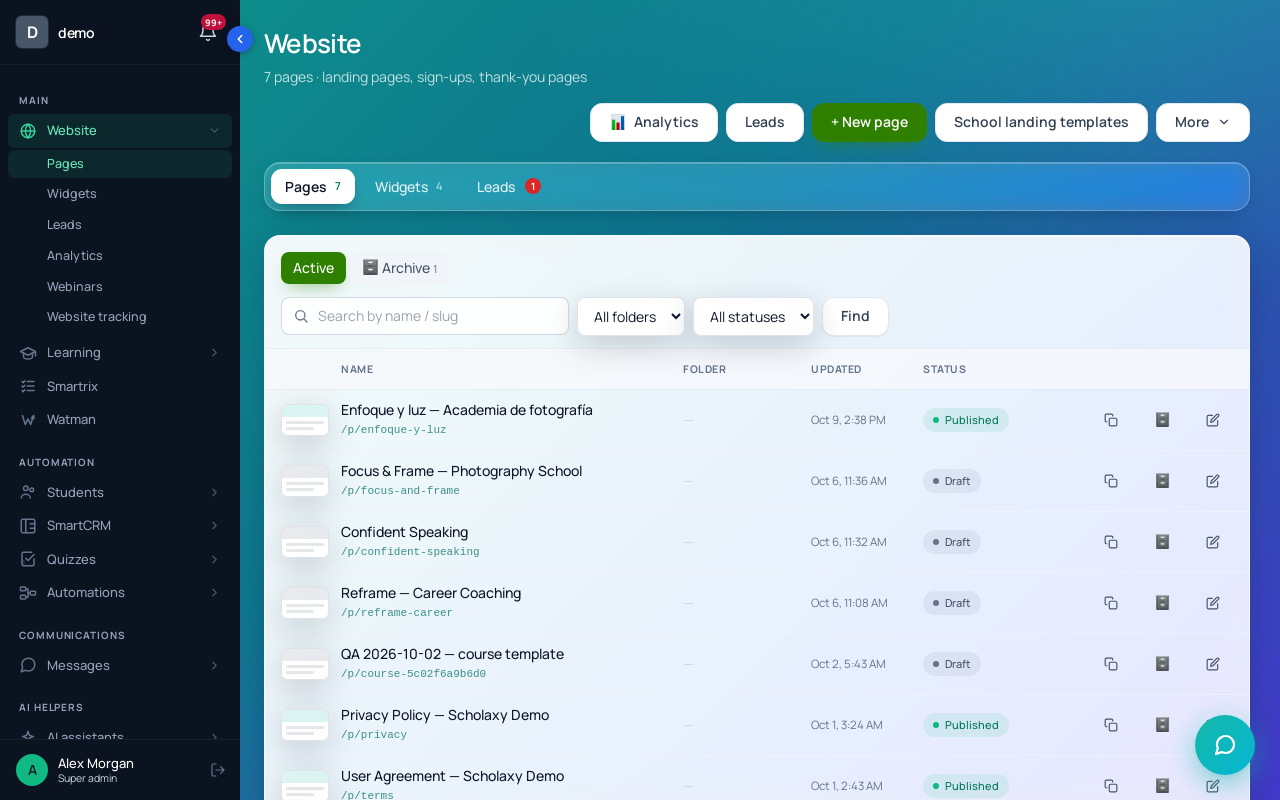
Step 2. The pages. In "Website" → "Pages", click "+ New page" and build the opt-in page from the template above, with a "Lead form" block ("+ Block" → "Forms & leads"). In "Classic", untick "Show the site-wide header" and "Show the site-wide footer" so the page has no menu. Then make a second page with the URL slug thanks: a button with the public PDF link, the 5-minute video and a line about where the email comes from.
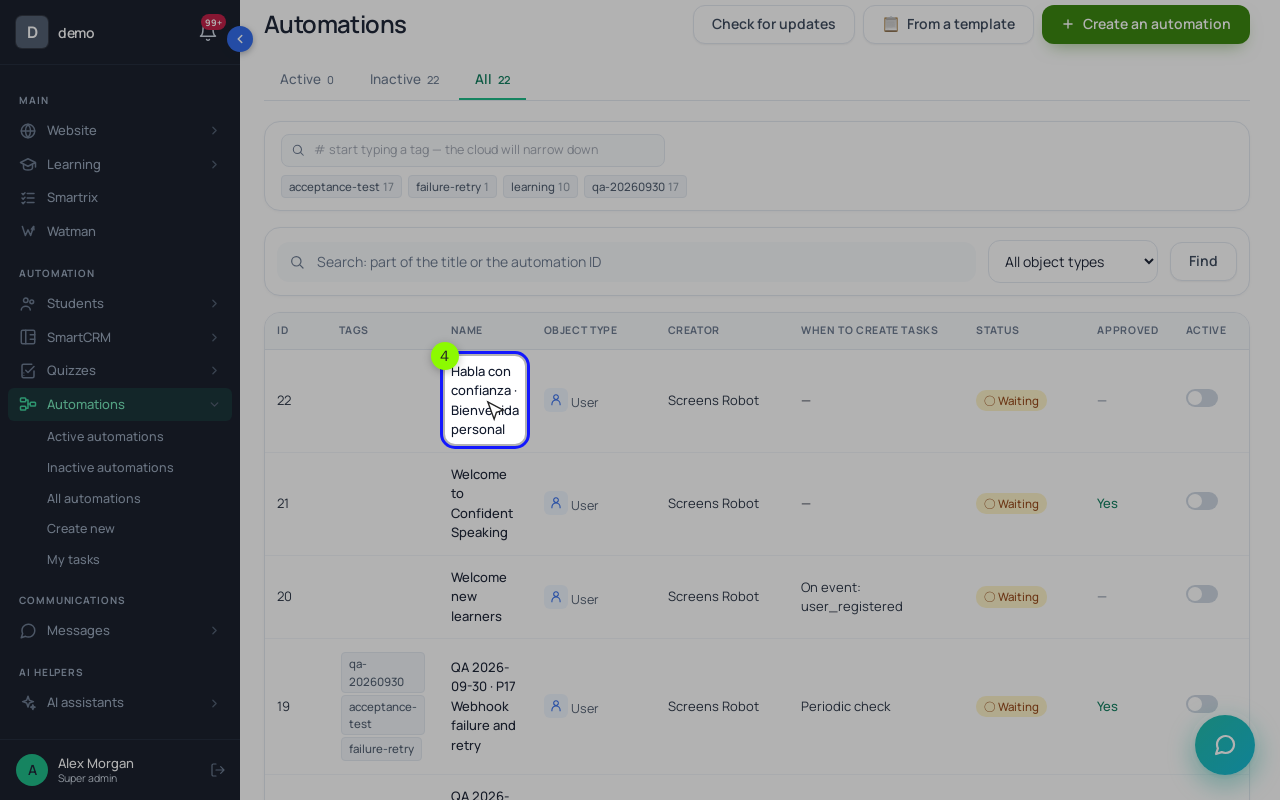
Step 3. The process. "Processes" → "Create new", "By LMS users". On the "General" tab, set "The launch trigger" to "Disabled" (the form starts the process, even while it's inactive) and "The limit of entries per client" to 1, so a second request doesn't restart the emails. On the "Process" tab, add the blocks in order:
- "Operation" → "Add a tag": hive-checklist. The tag goes on the person's card and shows later which freebie a buyer came from.
- "Send an email" with the PDF link and the video link. No delay before it.
- "Delay" 2 days, "Send an email" about reading the frames.
- "Delay" 2 days, "Send an email" with the offer and a link to the sales page.
- "Delay" 3 days, "Send an email" with the reminder.
Back on the "General" tab, pick a segment of course buyers in "A stop condition by segment": that's the stop rule from the previous section. Use "Send an email" for these messages, not "Run a broadcast": a "Send an email" block skips people who unsubscribed, while chain emails from "Run a broadcast" don't respect unsubscribing yet. Click "🧪 Simulate" (nothing is sent), then "▶ Test" on your own address.
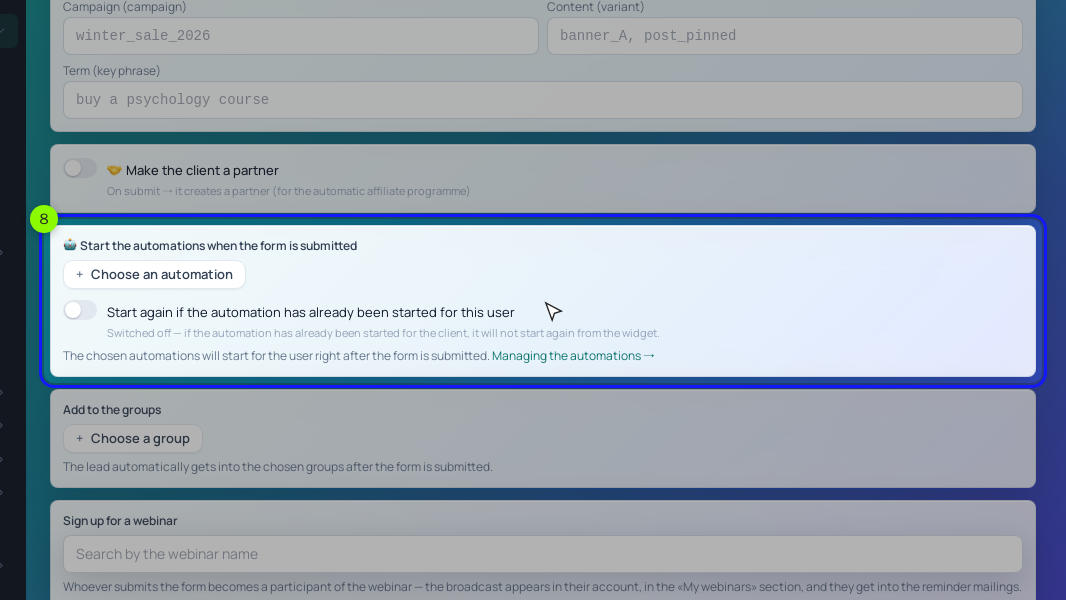
Step 4. The form. In "Website" → "Widgets", find the form on the opt-in page and click "Edit form". On the "Fields" tab, tick "Required" on Email: in the default form it's optional, and after-submit actions only run for leads with an email. On the "After submitting" tab, type hive-checklist in "Free-form labels" (that label marks the request in "Website" → "Leads"; the process tag marks the person) and pick the process in "Start the processes when the form is submitted".
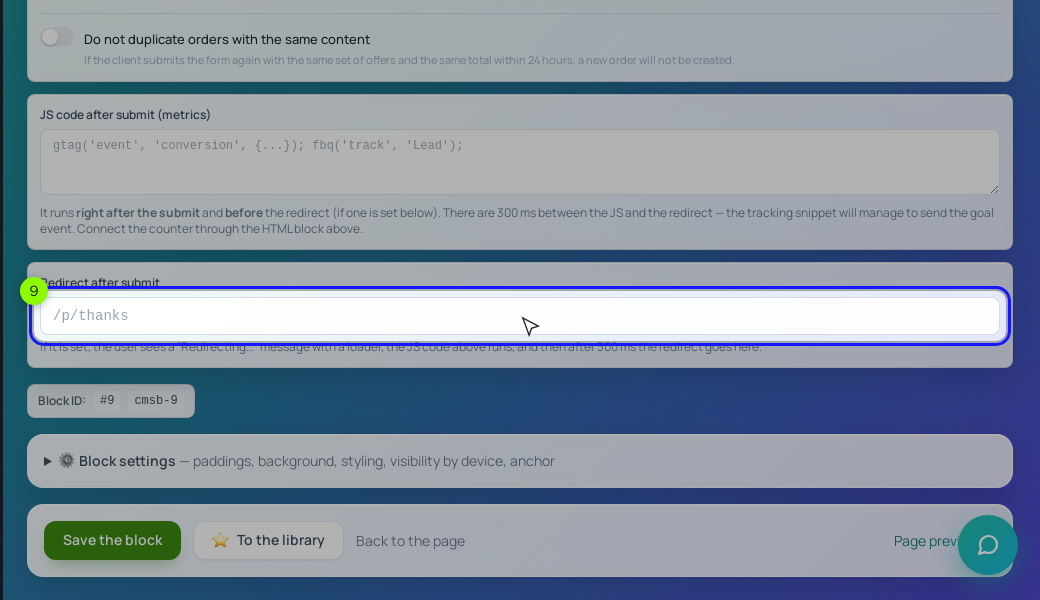
Put the full address of the thank-you page in "Redirect after submit" and click "Save the block". Publish both pages.
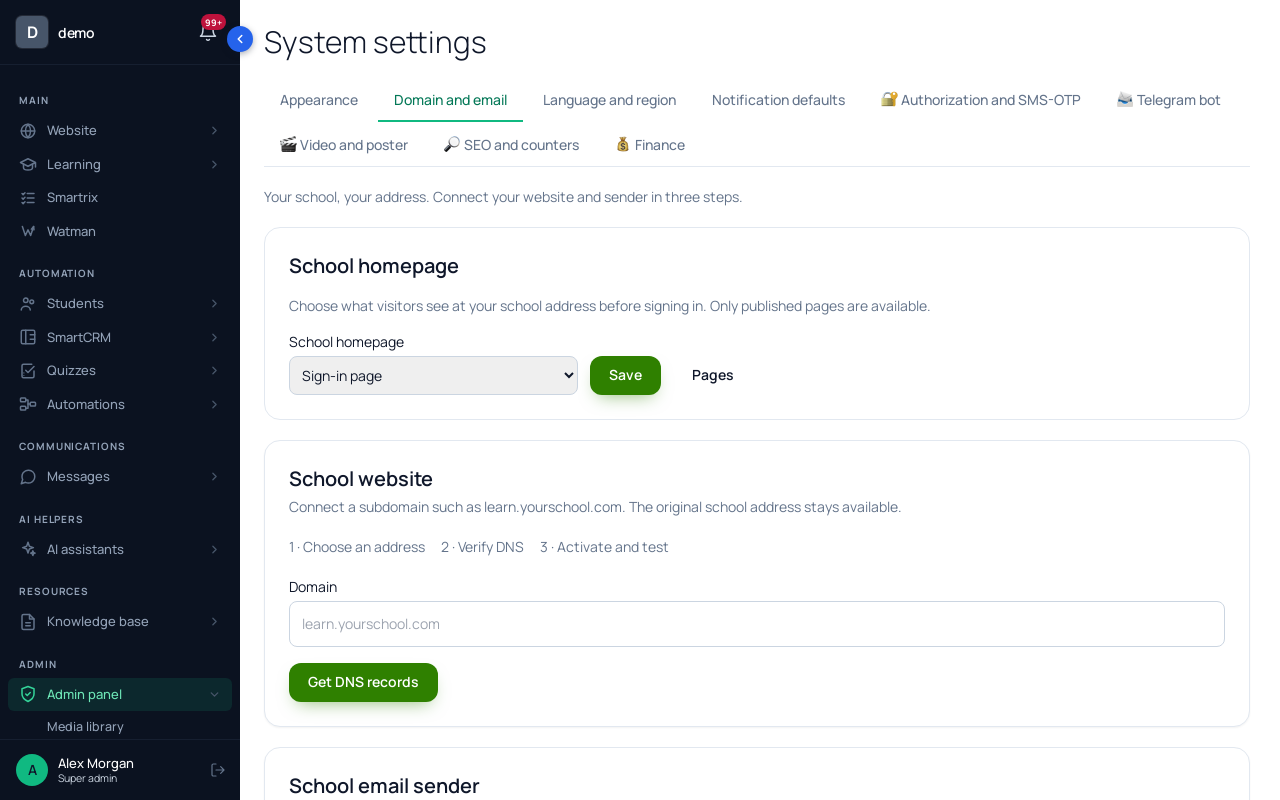
Step 5. The sender. Process emails go out through your own SMTP if you connected one in "Integrations", otherwise through the platform's mail. To send from your domain, fill in the "School email sender" block in "System settings" → "Domain and email": the domain, "Sender before @" and "Sender display name". Click "Get DNS records", add the TXT, sending and DMARC records at your domain provider (keep an existing DMARC record rather than adding a second), then "Check DNS", "Activate" and "Send a test to my email". Broadcasts are separate: a later newsletter to your leads needs your own SMTP or SendPulse.
Step 6. Test it. Submit the form from a second email address in a private window. Check that the thank-you page opens, the delivery email arrives within a minute and the PDF link works without signing in. The lead appears in "Website" → "Leads" as "New"; set it to "Spam" so it leaves the "New" counter.
Can one form deliver two different freebies?
Use one form per freebie. With separate forms, each one has its own label in "Leads" and its own tag on the person, so after a month you can see which freebie brought buyers and which only brought downloads.
Setup order and the first week
Build it in this order; each step can be tested before the next one depends on it. The ticks are saved in your browser.
- Product, offer and "Buyers" in the course access. Buy once with a test payment and check that the course opens.
- Upload the PDF, publish it to the outside and open the public link in a private window.
- Build the opt-in page (name and email only) and the thank-you page with the PDF button and the video.
- Connect your sender domain and send a test to a Gmail and an Outlook address.
- Build the process: tag, delivery email with no delay, day 2 email, offer, reminder. Limit entries to 1 and set the buyers stop rule.
- Wire the form: Email required, the label, the process, the redirect. Publish both pages.
- Send a test lead from a second address and mark it "Spam" afterwards.
- After a week, compare sign-ups with visitors and offer clicks with sign-ups. Fix the weaker step first.