Customer Onboarding for an Online School: From Payment to First Lesson
Customer onboarding for an online school is everything between "payment received" and the student finishing the first lesson. The course has to open, the buyer has to get into their account for the first time, a welcome message has to say what to do today, and someone has to notice the people who paid and never started. The finish line is one event you can check: lesson 1 opened.
The short version of the process: a page after payment that points to the course, one welcome email sent the moment the order is paid, a first lesson that gives a result on the day of purchase, one reminder on day 3 for people who haven't started, and a personal message on day 7 for those who still haven't. Tips, community invitations and the next offer wait until the student has started.
We'll use one example throughout. Say you sell Carve Your First Spoon, an $89 video course: eight lessons, about two hours of video, from the first safe cut to a finished, oiled spoon. You sell around 40 copies a month, so $3,560. A part-time assistant, Nora, answers student emails. The course has a built-in delay: carving needs a straight knife, a hook knife and a fresh branch, and knives ordered online take days to arrive. That gap is where buyers stall.
What customer onboarding covers in a course business
In software, onboarding often means a product tour. A course buyer already knows what they bought. What they're missing is the path from the receipt to the first lesson, and that path has five pieces:
- Access. The course opens as soon as the payment is confirmed, with no manual step on your side.
- The first sign-in. A new buyer has an account under their email but may never have chosen a password.
- The welcome. Where the course is, what lesson 1 asks of them, how long it takes, what to prepare.
- The first lesson, built so the student gets a result on the day they buy.
- The check-in: someone notices who hasn't started and writes while the purchase is fresh.
Access breaks silently: the order is paid and the course stays locked. The first sign-in breaks loudly, with emails titled "I can't log in". The rest break when nobody looks at them.
The customer onboarding process, step by step
Minute 0: the page after payment
The buyer has just paid and is looking at your thank-you page. It has two jobs: send them to the course and tell them how to sign in the first time. "Thank you for your order" with a button to your home page does neither.
Watch out for auto-redirects. A page that jumps to the home page after three seconds is gone before anyone reads it. We'd switch the redirect off and put one button on the page, "Open my courses", plus one sentence on signing in. Whatever your platform does for new accounts (an email with a password, a sign-in link, a "forgot password" step), that sentence should describe it plainly.
Minute 0: one welcome email
Send it when the order is paid, not an hour later, and put everything needed to start into it:
- How to sign in the first time, in one line, with the address of the sign-in page.
- A direct link to lesson 1, not to the course catalog.
- What lesson 1 asks: "15 minutes, a kitchen knife and a pencil-thick green stick from any tree."
- What to order now for lesson 3: the straight knife and the hook knife, and a fresh branch of birch or cherry cut within a week.
- Who answers: "Reply to this email. Nora reads every reply."
Leave out the survey, the full lesson list and your social links: each extra link is somewhere to go instead of lesson 1. We'd also hold any upsell until the student finishes the course. The cost is a few early sales of the next course. The gain is that the first email they get from you after paying is about their purchase, not your next one.
Day 0: a first lesson that works without the gear
Here the course itself is part of onboarding. If lesson 1 of the spoon course were "Hollowing the bowl with a hook knife", nobody could start for a week. So lesson 1 is "Three safe grips": 15 minutes with a kitchen knife on a green stick, ending with a stick that has three clean facets, something a student can photograph and send. Lesson 2, on choosing and splitting wood, also needs no carving knives. The knives matter from lesson 3, and by then they've arrived.
Look at your own lesson 1 and ask what stops a buyer starting tonight: a tool, a signup in another app, a 40-minute theory video. Move it later or give a workaround for the first session. This is the same thinking as releasing lessons on a schedule, covered in drip content, but applied to day one.
Day 3: one reminder, only to people who haven't started
Three days after payment, check who has opened lesson 1. Those who have get nothing from this step. Those who haven't get a short note: "Did lesson 1 open for you? Here is the link again. If signing in didn't work, reply and Nora will fix it today." Three sentences, one link, one way to answer.
Why day 3? A nudge on day 1 reaches people who planned to start at the weekend anyway, and after a week the purchase has gone cold. We'd send one reminder and stop. A second one brings back a few more people and makes the rest feel chased.
Day 7: a person, not another email
Whoever hasn't opened lesson 1 a week after paying gets a message from a person. Nora checks the account first (did they ever sign in? is the order really paid?) and writes two lines. Stuck at sign-in, waiting for knives, or regretting an impulse purchase: a person can tell which, and can offer what an automated email can't, like a short call or a later start.
This step costs time, so count it. Say 22 of the 40 monthly buyers open lesson 1 within three days. The reminder goes to the other 18, and say 8 of them start by day 7. That leaves 10 for Nora, at about 5 minutes each: 50 minutes a month. For an $89 course we think that's worth it.
The planner starts from the spoon course's three messages: change the days, switch messages off, copy the plan. A longer first-week series is covered in welcome email sequence.
Example onboarding messages for the $89 spoon course. Day 0 is the day the order is paid.
| Day | Message | Goes to |
|---|---|---|
| 0 | Welcome: how to sign in, link to lesson 1, what lesson 1 needs, what to order for lesson 3 | every buyer |
| 3 | Reminder: "Did lesson 1 open for you?", one link, reply if stuck | buyers who haven't opened lesson 1 |
| 7 | A personal note from Nora | buyers who still haven't opened lesson 1 |
What to measure
One number: the share of buyers who open lesson 1 within seven days of paying. In the example that's 22 + 8 = 30 of 40, or 75%, with Nora reaching the other 10. Track it monthly, next to a second count: messages that amount to "I can't log in". If those keep coming after you rewrite the welcome email, the sign-in line is still unclear. Read it as someone who has never seen your school.
Don't judge onboarding by email opens. A buyer can open the welcome email three times and never press play.
Where this plan goes wrong
- A cohort course that starts in three weeks. Lesson 1 isn't open yet, so "opened lesson 1" is the wrong finish line. Onboarding is the start date in the welcome email, a calendar reminder and a message the day before the first session.
- A cheap product. For a $9 guide, a personal note to each stalled buyer costs more than the sale. Keep the welcome and the day-3 reminder and drop day 7.
- Reminding people who already started. The day-3 email has to check lesson 1 first. "Haven't started yet?" sent to someone who finished lesson 2 yesterday tells them nobody is watching.
- Four emails in ten minutes. The payment provider's receipt, a notification from the platform, your welcome and a newsletter all land at once, and the buyer reads none of them. Check what already goes out on payment and make yours the one with the lesson 1 link.
Customer onboarding workflow in Scholaxy
In Scholaxy the pieces are course access that opens on payment, the "Thank you" page in the checkout settings, and one process started by the "Order paid" event. That process is the workflow: welcome email, wait for lesson 1, reminder, wait again, alert to Nora. For what else is worth automating in a school, see what to automate first.
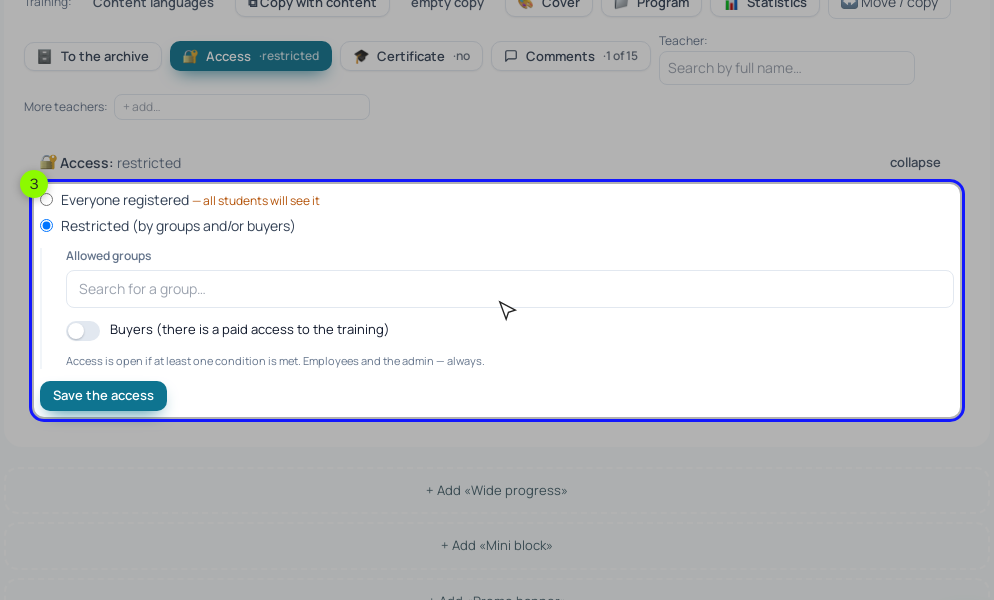
Step 1. Access opens by itself. The course is sold through a product of the "Training access" type, linked to the course, with an $89 offer. In the course, open "🔐 Access", choose "Restricted (by groups and/or buyers)", switch on "Buyers (there is a paid access to the training)" and click "Save the access". Without "Buyers" the order turns "Paid" and the course stays locked.
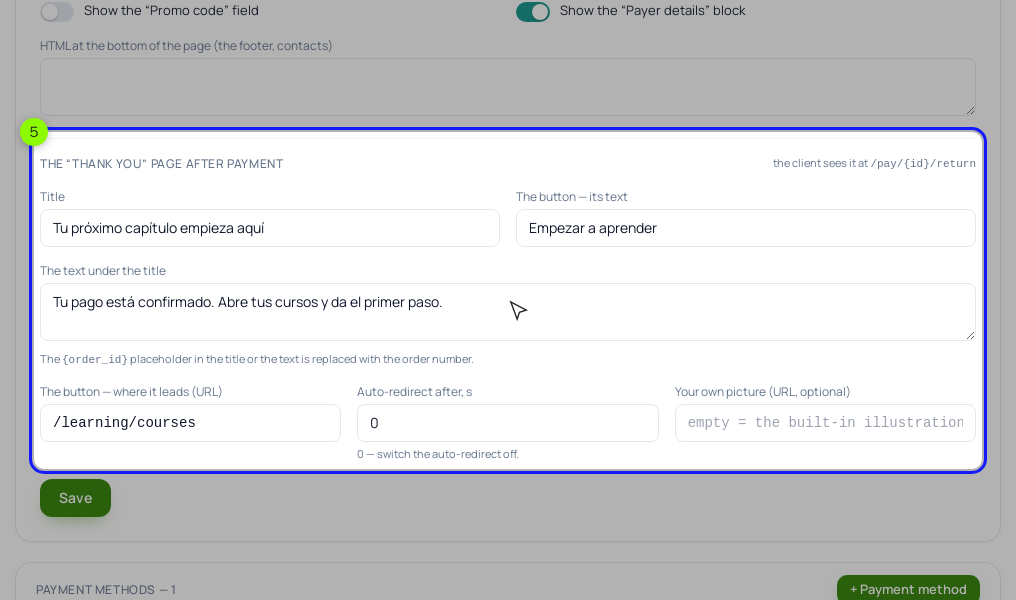
Step 2. The page after payment. Open /admin/integrations/checkout (it isn't in the menu, so type the address). In the "Thank you" page section, fill in "Title" and "The text under the title", then set the button's text to "Open my courses" and its URL to /learning/courses. Set "Auto-redirect after, s" to 0: out of the box the page says it will send the buyer to the home page in 3 seconds. The page is shared by every order in the school, so write it for any course:
You're in. Your course is open. First time here? Click "Open my courses", then "Forgot your password?" on the sign-in page, and enter the email you paid with.
Here is why that sentence matters. Someone who buys through a "Pricing" button on your website gets an account under the email they entered, without a password. A signed-out visitor who opens /learning/courses is sent to the sign-in page, and after signing in a student lands on "My courses". The password reset link in the email works for two hours. For someone stuck, an administrator can open the card and use "⚡ Actions" → "Send a sign-in link" (valid for 7 days, one use).
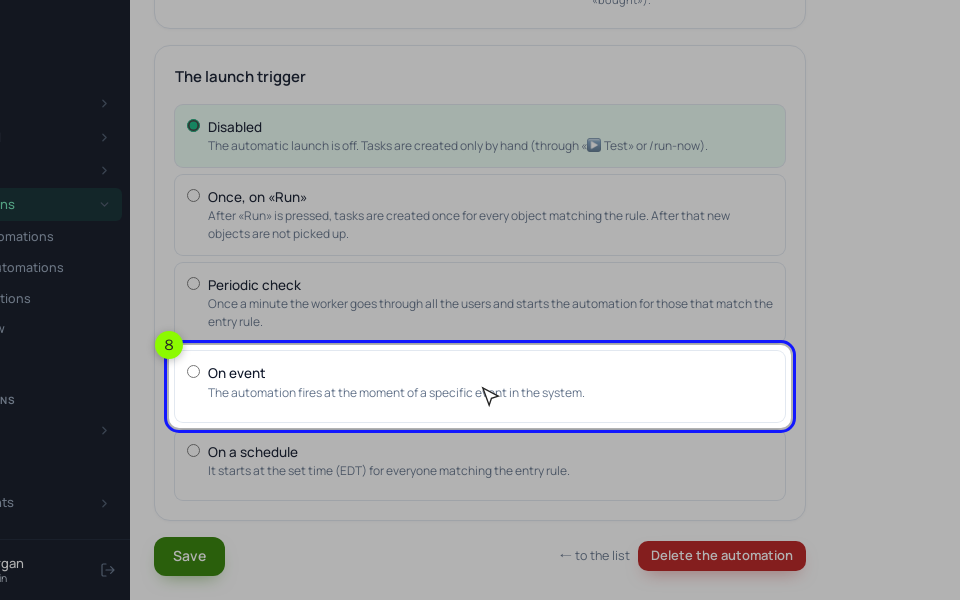
Step 3. The process. In "Processes", click "Create new" and choose "By LMS users". On the "General" tab set "The launch trigger" to "On event" with "Order paid", add an entry rule with the "Training access" condition and the spoon course, and set "The limit of entries per client" to 1. The event fires when an order becomes paid: online, or when you record a bank transfer by hand.
On the "Process" tab, add the blocks in this order:
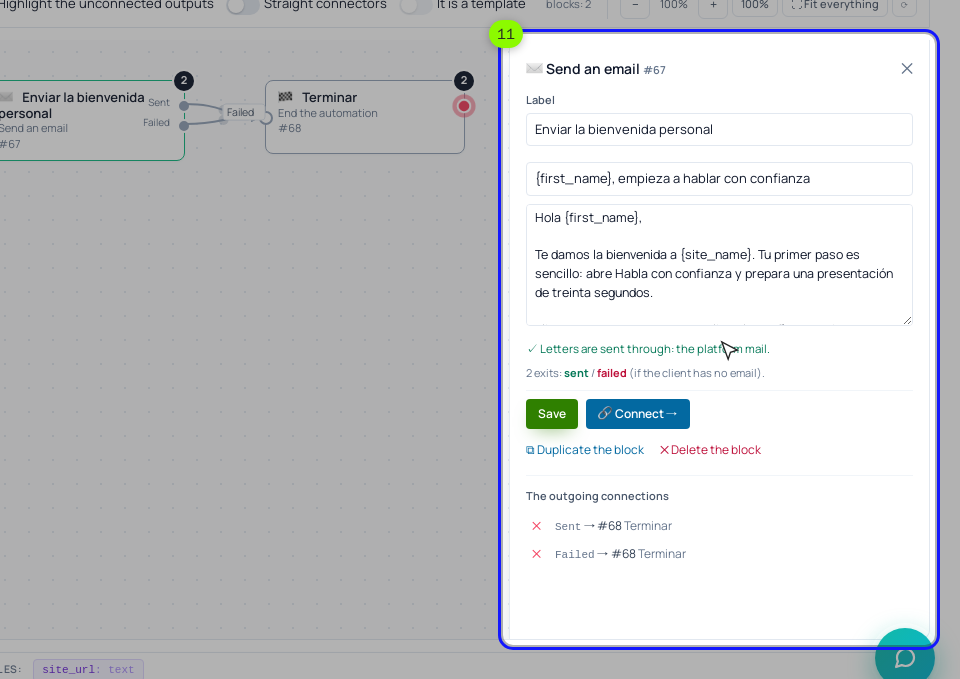
- "Send an email" with the welcome. Texts accept {first_name}.
- "Wait for condition" with the rule "Course participant: lesson (entry, homework, video)": pick the course, the section and lesson 1, then "Entered the lesson" set to yes. The timeout field starts at 30 days; set it to 3.
- From the "timeout" output, a second "Send an email" with the reminder.
- Another "Wait for condition" with the same rule and a 4-day timeout.
- From its "timeout" output, an "Operation" with "Notify the employee": Nora, and a text like "Hasn't opened lesson 1 a week after paying: {user_link}". That text goes to Telegram as written, so use {user_link} rather than the buyer's email or phone.
Connect the "failed" output of the welcome email to the same "Notify the employee". "Send an email" fails when there is no address or the person has unsubscribed, so a buyer who unsubscribed from your emails back when they were a lead gets no welcome from this block. Nora hears about it instead of nobody.
Before switching it on, click "▶ Test" and enter a test student's email: the test starts at once, skips the trigger and the rule, and the emails really go out. Check the "Tasks" log, then click "▶ Activate". Then run the full path once as a buyer: a second email address, a payment with a Stripe test key, the "Thank you" page, the welcome email, the password reset, lesson 1.
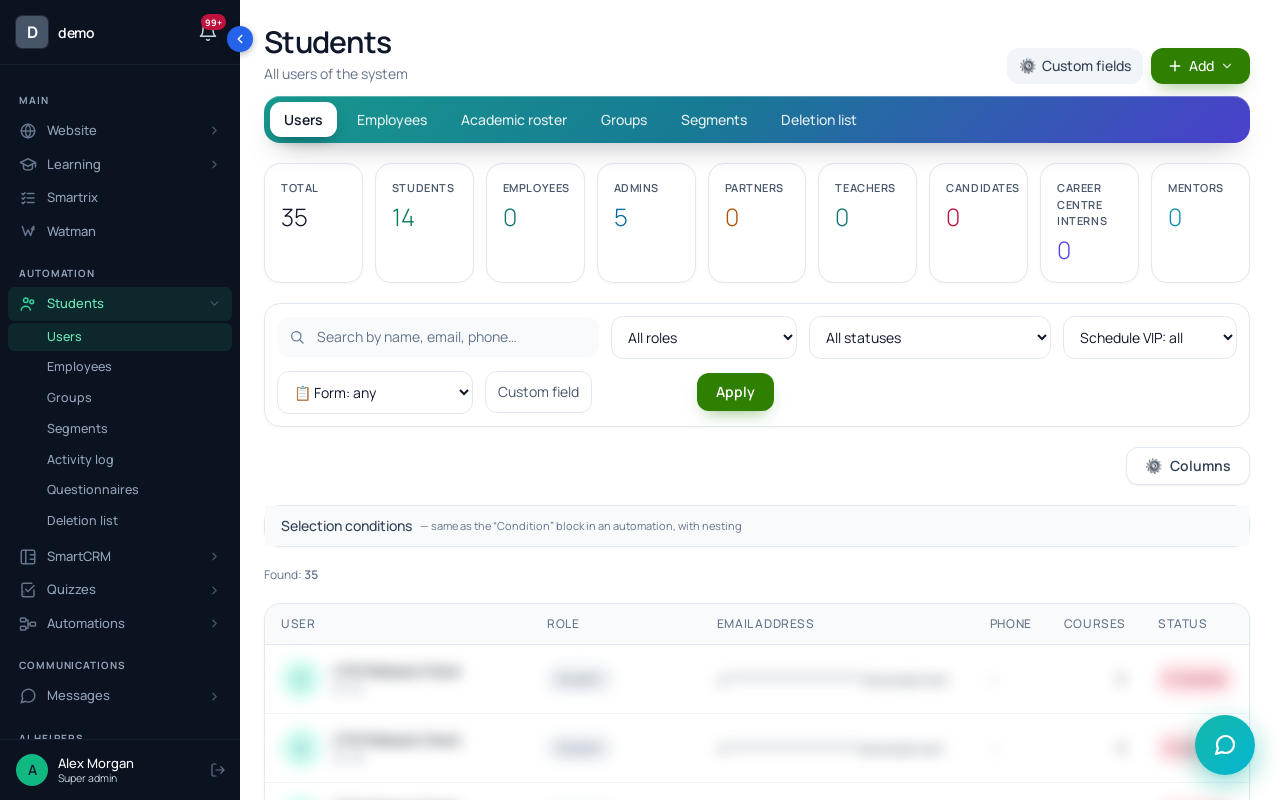
Step 4. Look at the school as a buyer sees it. In "Students" → "Users", open the card and click "👁 Sign in as the user". "My courses" should show the spoon course. Leave with "Return".
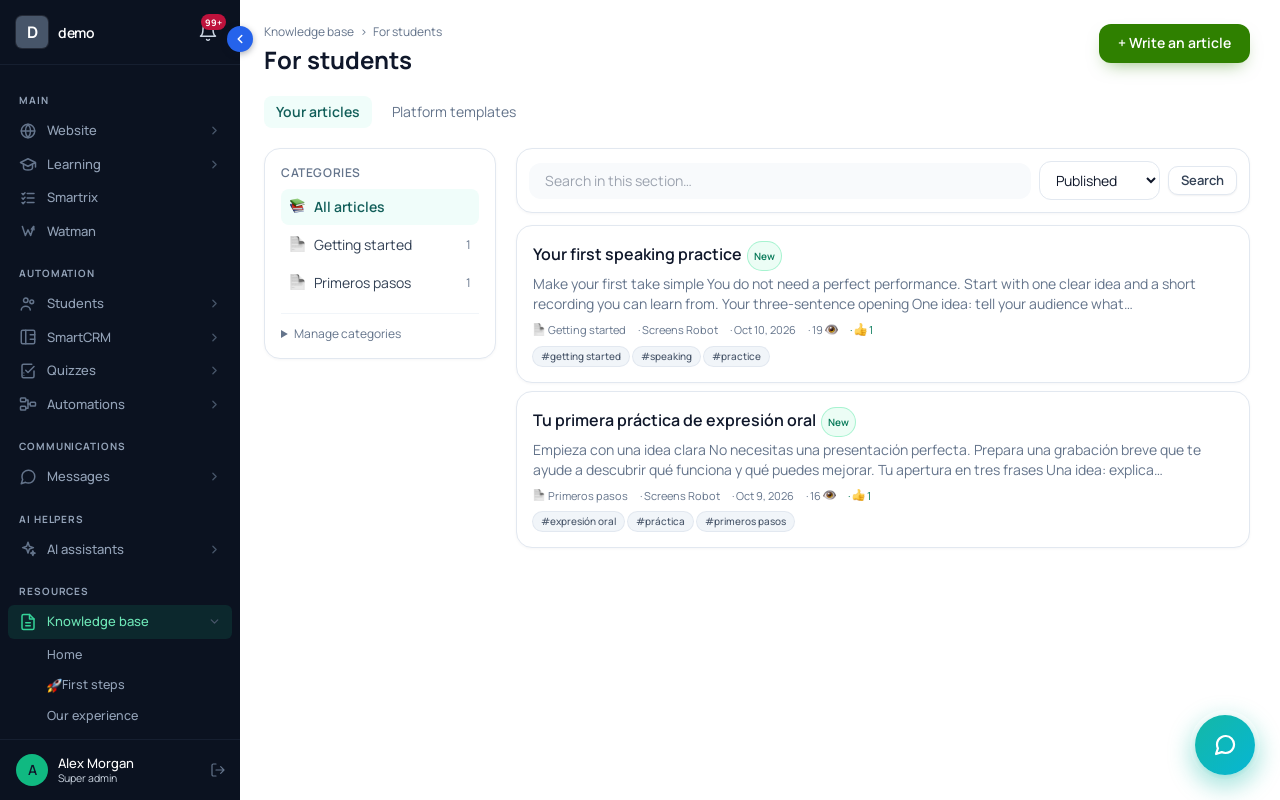
Step 5, optional. Publish a short "How to start" article on the "For students" shelf of the knowledge base. Once the shelf has a published article, students get "Help" under "Learning", and the welcome email can link to it instead of repeating the instructions.
Setup order and the first month
- Check lesson 1: can a buyer finish it tonight, without tools or another app?
- Product with "Training access" linked to the course; "Buyers" switched on in the course access.
- The "Thank you" page: sign-in sentence, button to /learning/courses, auto-redirect 0.
- Welcome email text: sign-in line, link to lesson 1, what lesson 1 needs, what to order now, who answers.
- The process: "Order paid", entry rule on the course, limit 1, two waits of 3 and 4 days, reminder, "Notify the employee".
- Test with "▶ Test", then buy the course yourself with a second email address.
- Activate the process.
- After a month, count buyers who opened lesson 1 within seven days, and the "I can't log in" messages. Change one thing and count again next month.
Should the welcome email include a password?
No. A password in an email stays in the inbox long after it's changed. Tell the buyer how to set their own; in the setup above, that's "Forgot your password?" with the email they paid with.